
 Much like worried parents will fuss over a child before sending them off into the world, I fidgeted over the details of this lil guy, attempting to delay the inevitable departure, filled with pride and worry at the rigors he’ll face out in the real world. Unlike most worried parents, I eventually said “fuck it,” and dropped this fucker off at the local Fedex, to be shipped cross country in a large cardboard box.
The details were particularly sweat-able on this build, as this was essentially the third iteration on the concept, starting with a beast of the beats that went to Keith, and then a semi-pro configuration that went nowhere. Here are the vague details of the build:

Obviously, the first detail to isolate is the Lego theme. Legos, by the way, are a fairly mediocre permanent construction material. Turns out the 10-micron precision makes them fairly expensive from a cost/volume stand point (a small enclosure requires a lot of legos). Had my little siblings help me build lego boxes to compare the looks. Turns out rainbow is a crowd favorite

Fast forward a few days, after much designing, some deliberation, and then cutting, I’ve got a wood box to match the lego box. I believe I designed for 4L internal volume for each NS3 driver, which, in retrospect, I feel was too much. However, once the wood is cut…alea acta est. I went for a seamless miter approach on this build, to avoid the ugly “end-grain” of the birch plywood. I wrapped the grain around the “depth” of the box, but the grain of the “face” does not flow into the edges. So far I haven’t figured out a solution to this that works out in our boring 3 dimensional Euclidean / Newtonian universe.

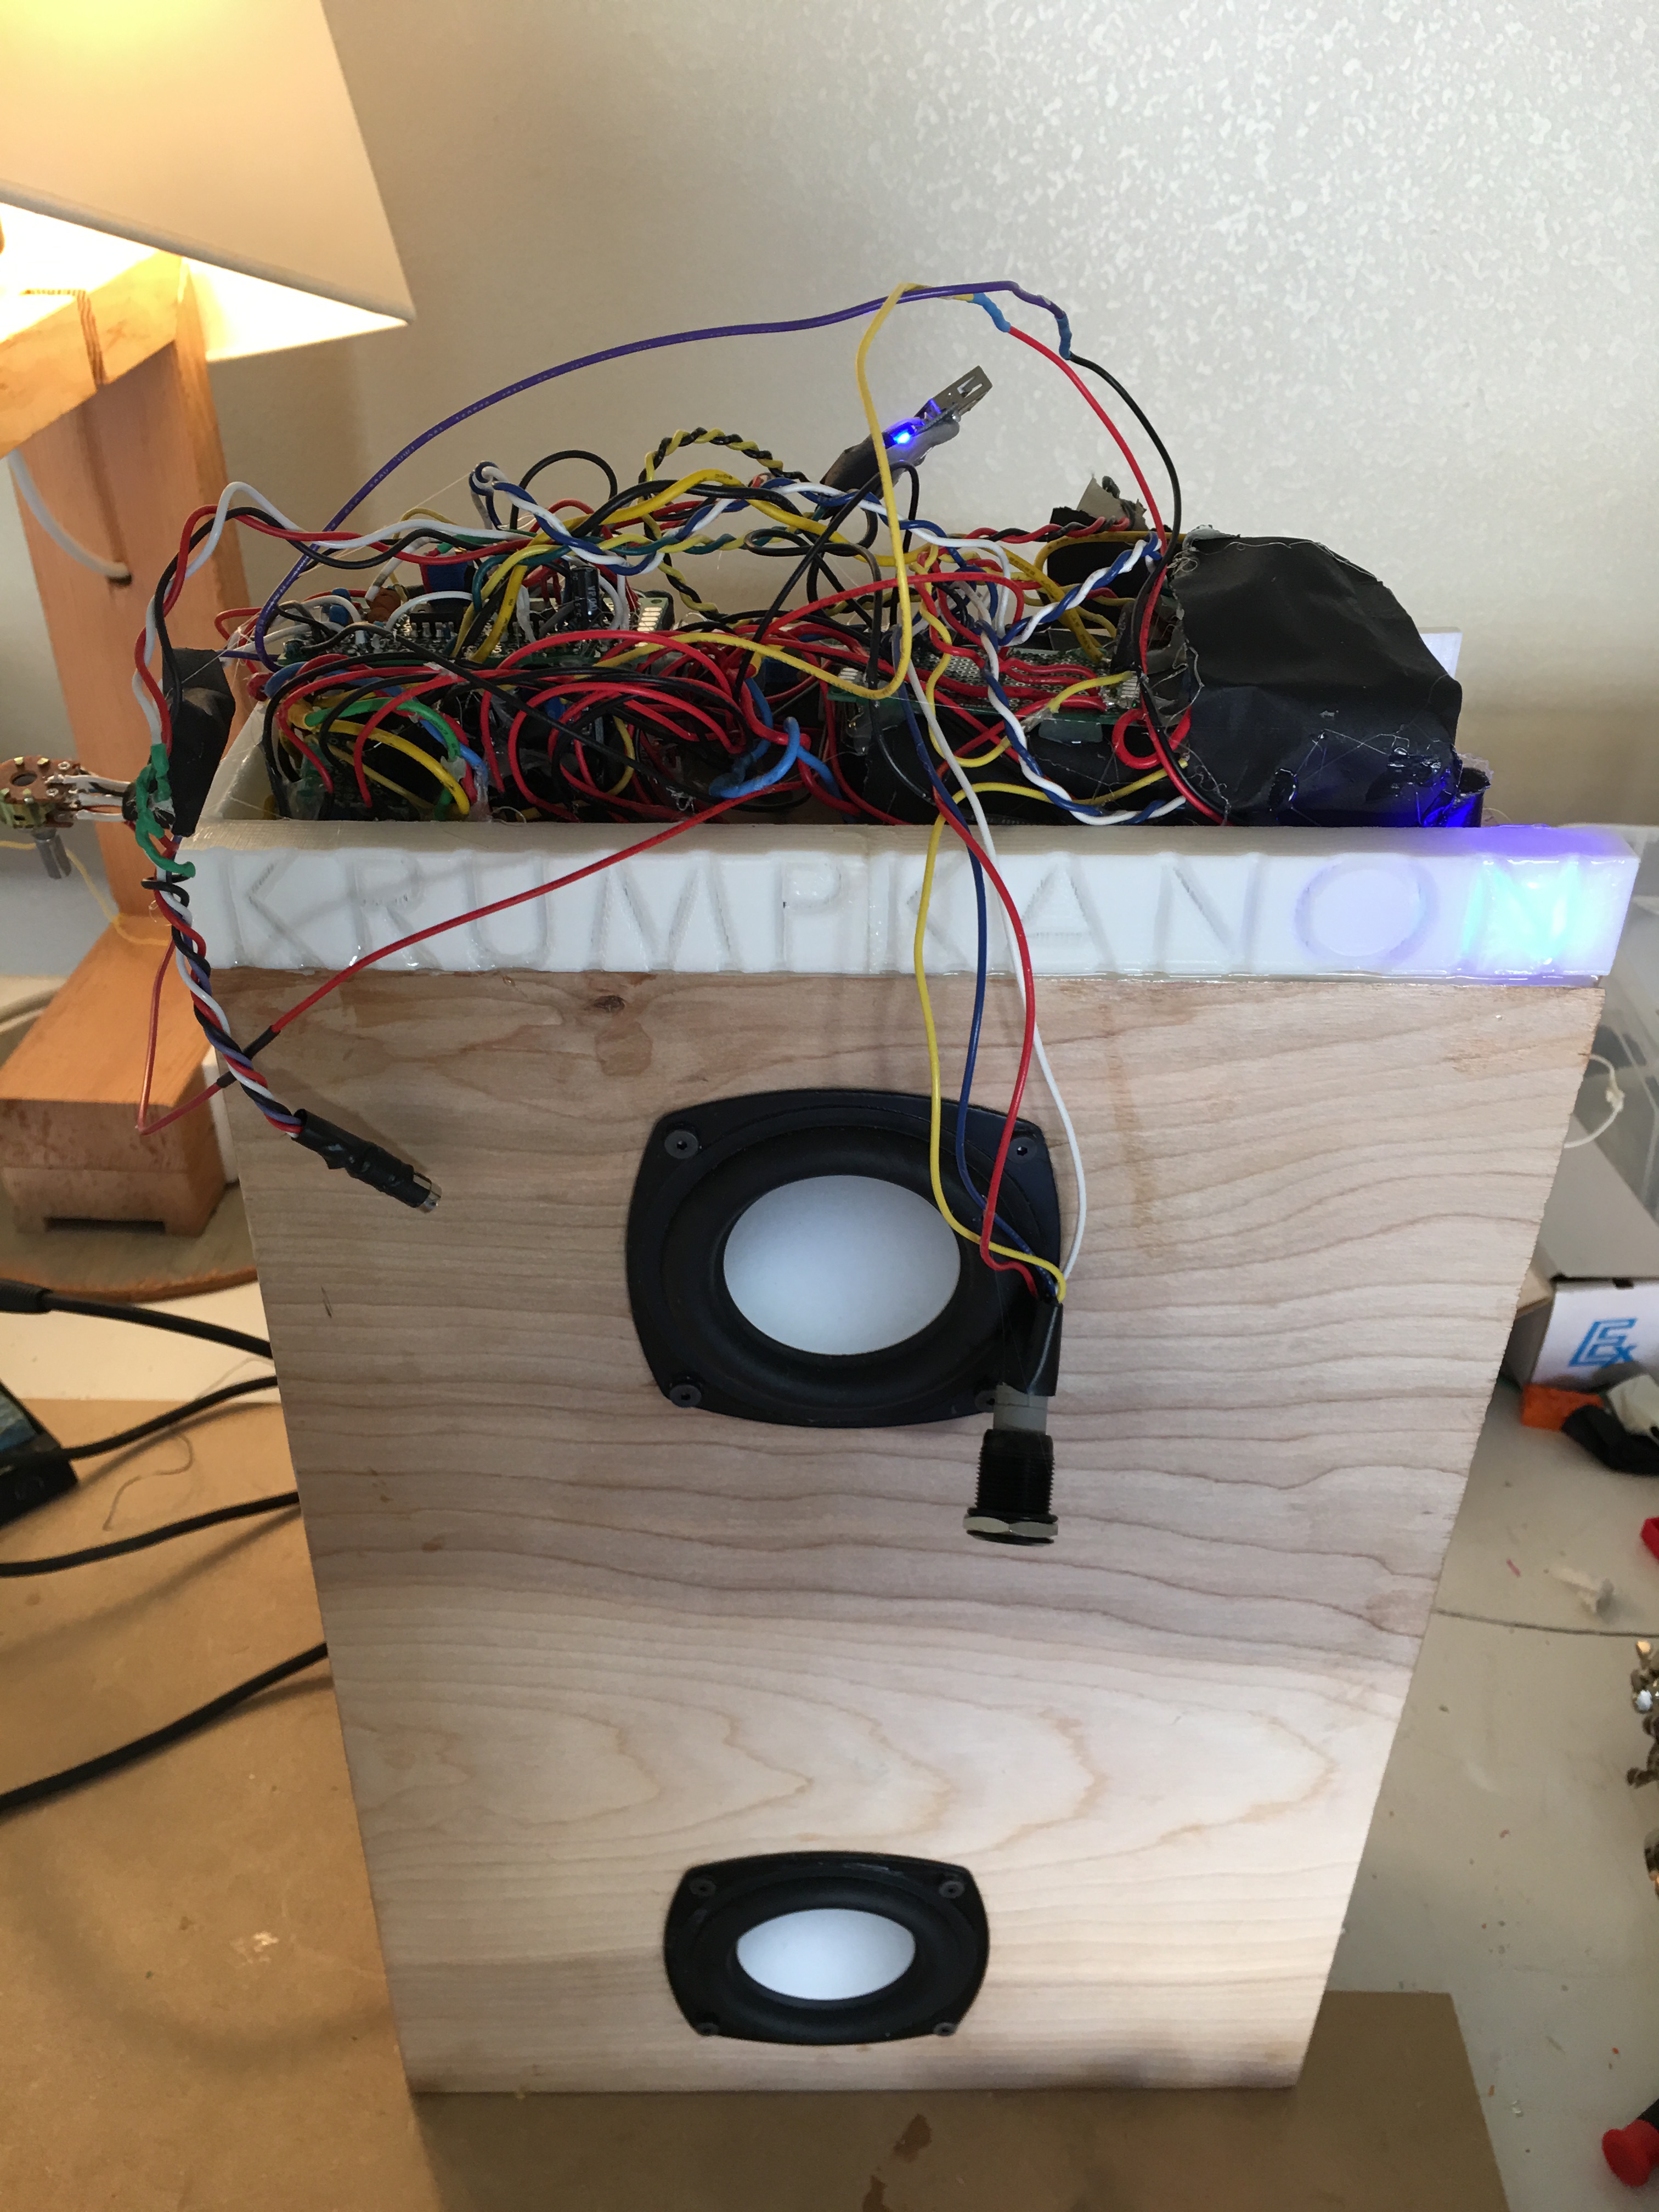
Here we can see the translucence of the 3d prints, pre assembly. Originally, I had not planned for there to be a VU lightstrip in this build, but then I realized that since I built all the electronics off of the wood box, fitting them into the lego box, which had 5/6 faces constrained already, would be extremely difficult. At this point, I also realized I miscalculated the amount of space wires take up. Medusa rears her ugly cable management head yet again.
Now you see what I mean.
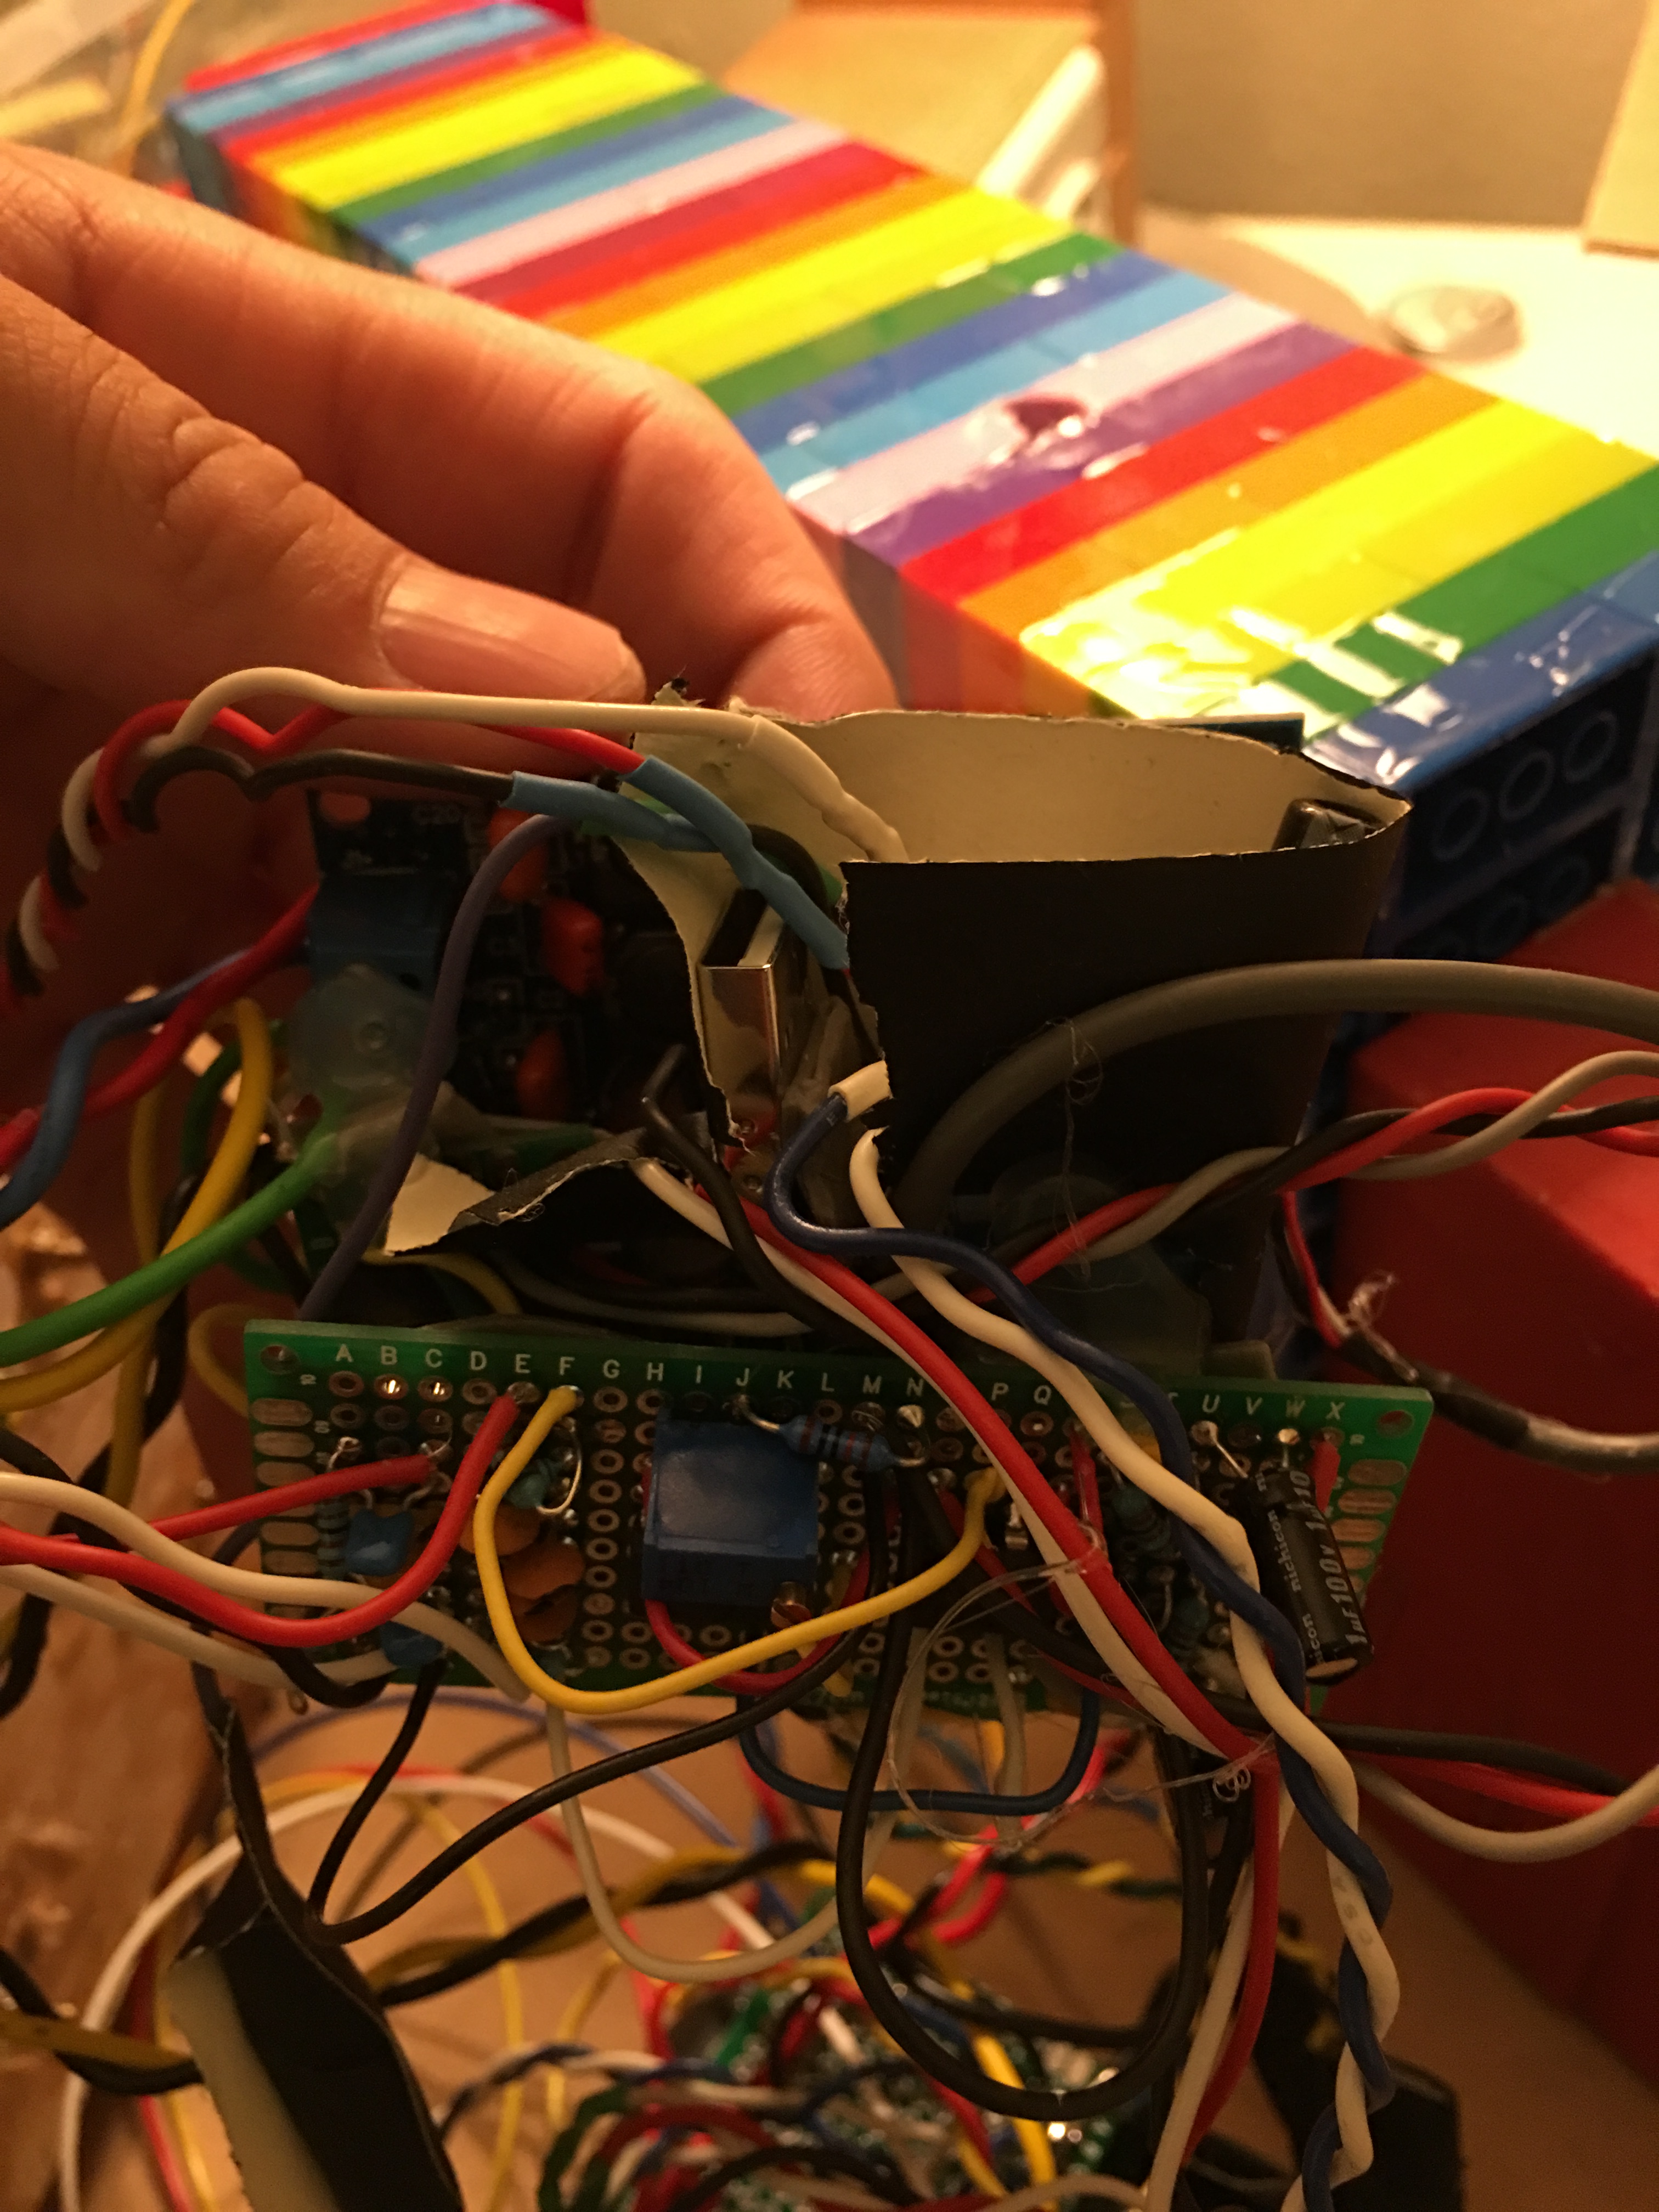
Analog signal processor demonstrating that I am the particular type of person that loves neat things but does not love making things neat, and so I live in a constant torment of my own devising. I chose a scheme that allows for a bass shelf at lower volumes, but flattens the EQ towards higher volumes—it’s essentially a loudness compensation circuit, except that since I have no reference for the actual loudness of the output (due to lack of information about source gain, listener position). I call it the “party” compensation circuit, because while one might enjoy deep sonorous extension at lower listening levels, once your friends roll through, 14 beers deep each, you’re cranking that fucking volume knob. And while the NS3’s have a lot of allowable excursion before crashing, the garbage bass lines that litter the hip hop soundscape are essentially glorified sine waves that will fuck your shit up. The obvious and simple solution to this is a simple dynamic gain-tied or signal-adaptive high-pass for excursion limiting, or a multi-band compressor. I leave these endeavors as an exercise to the reader until I have the time to implement them on the next build.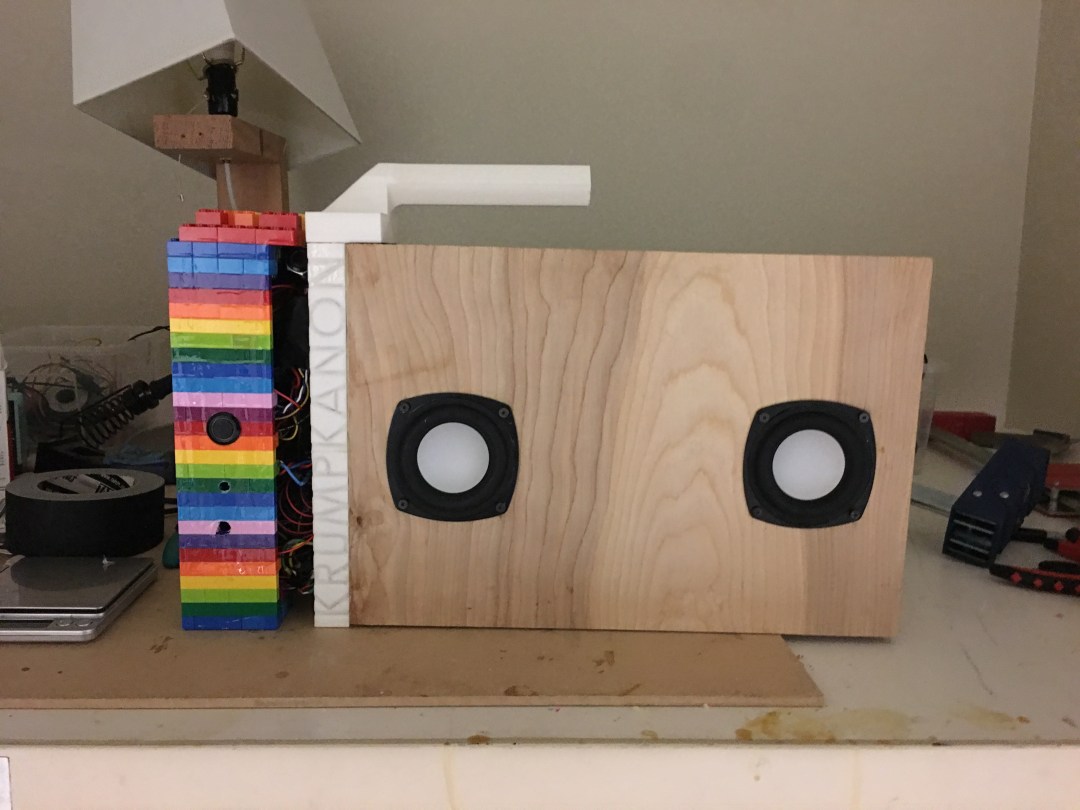
Pre-wood finishing. After disliking the gumminess and amber tint of marine spar varnish, I chose to use tung oil to bring out the figure. Then I sealed the box+3d printed parts with epoxy (bar top) for strength/durability, and finally, for UV protection and hardness, I finished with a clear gloss polycrylic. Here’s what it looks like finished:

