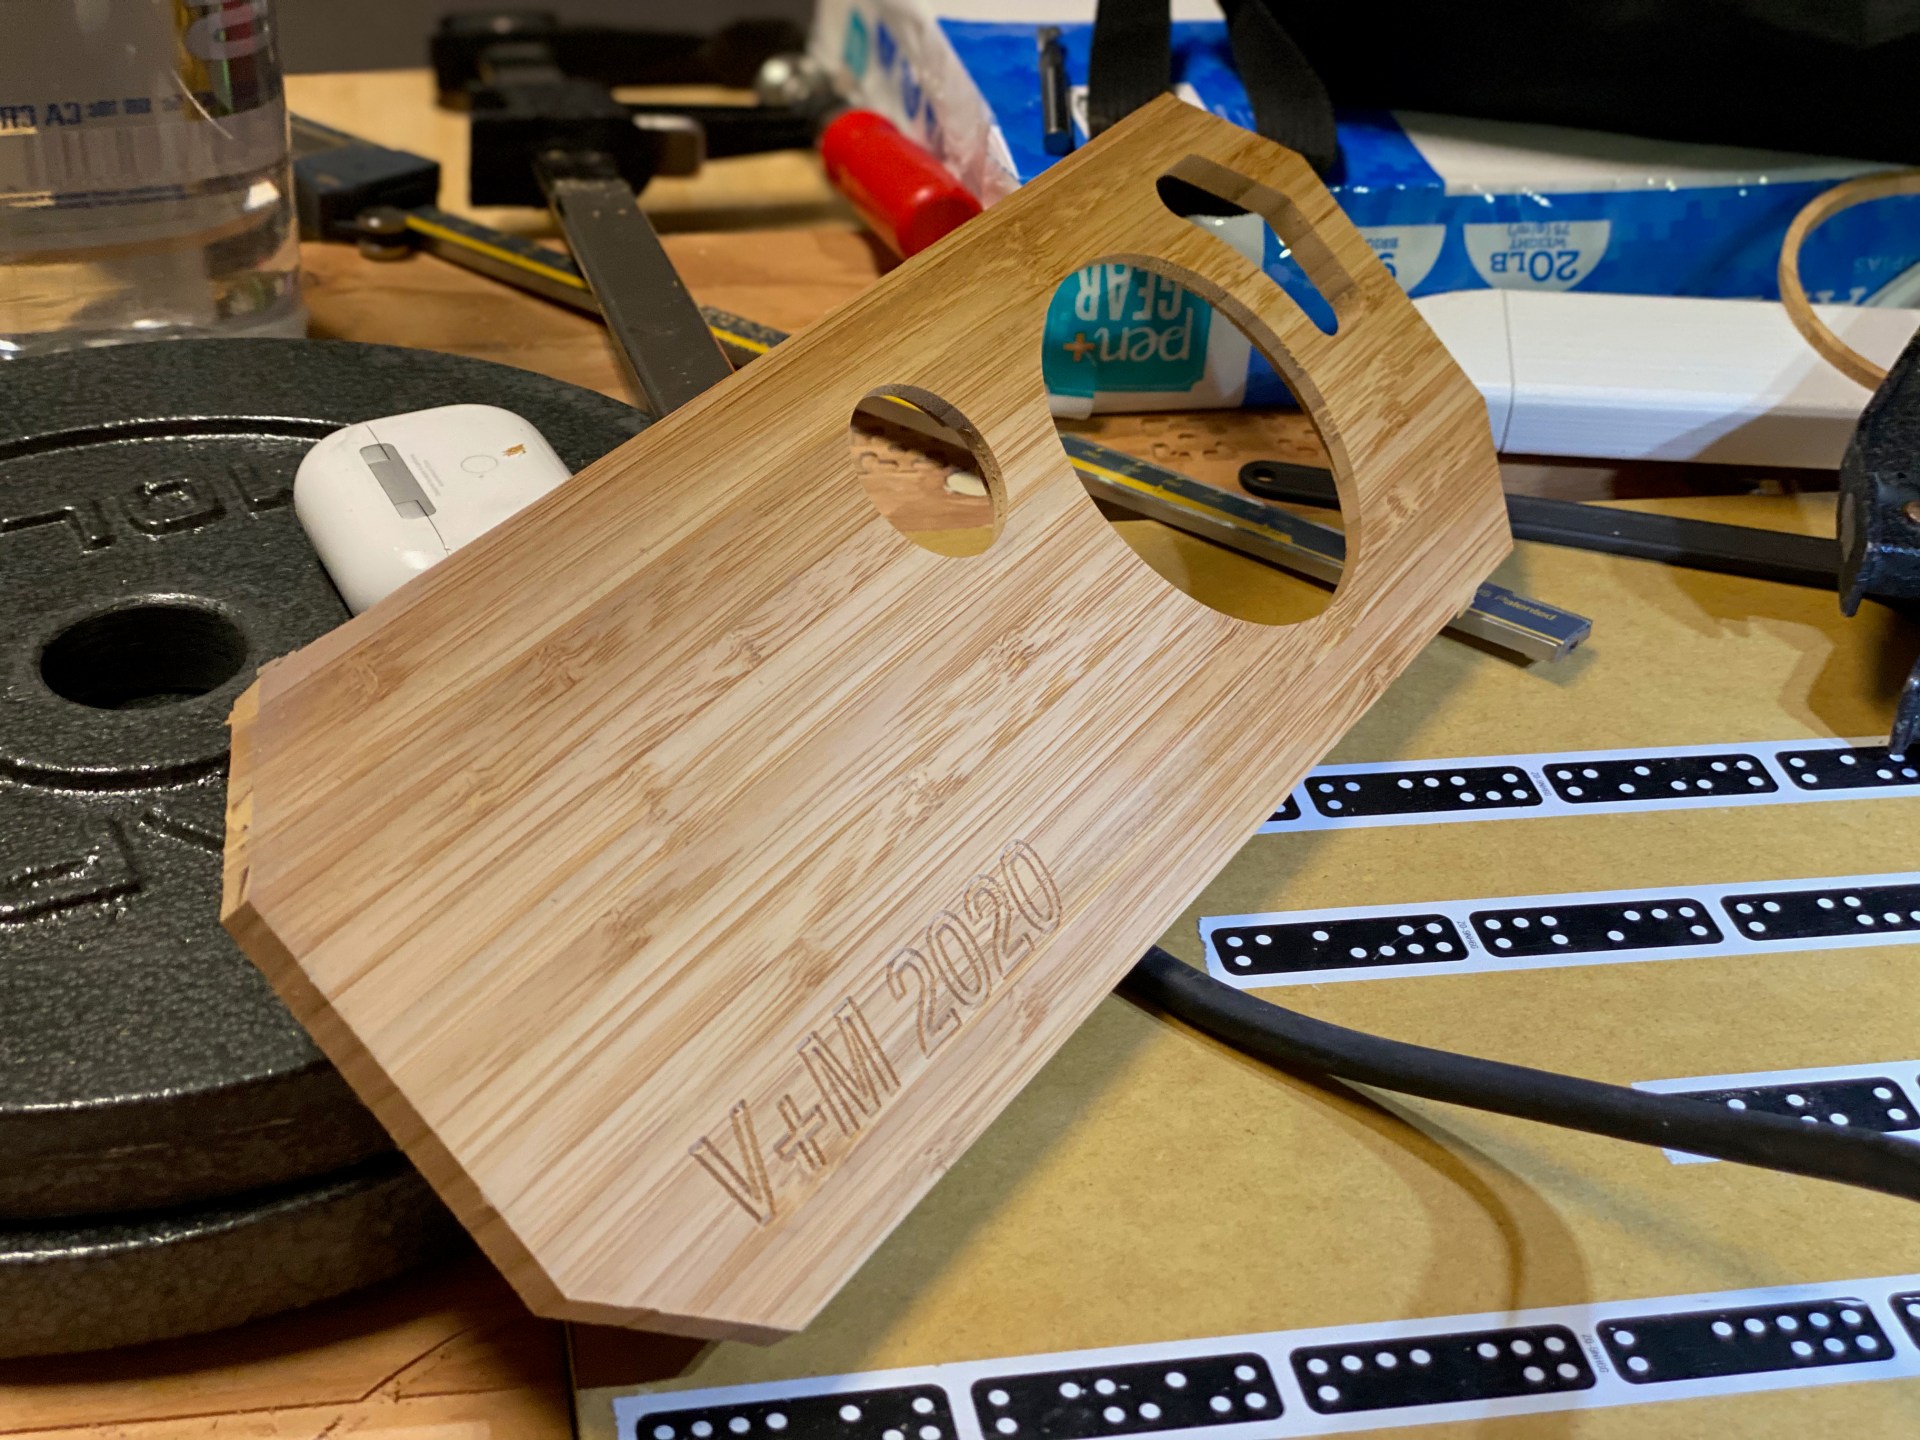
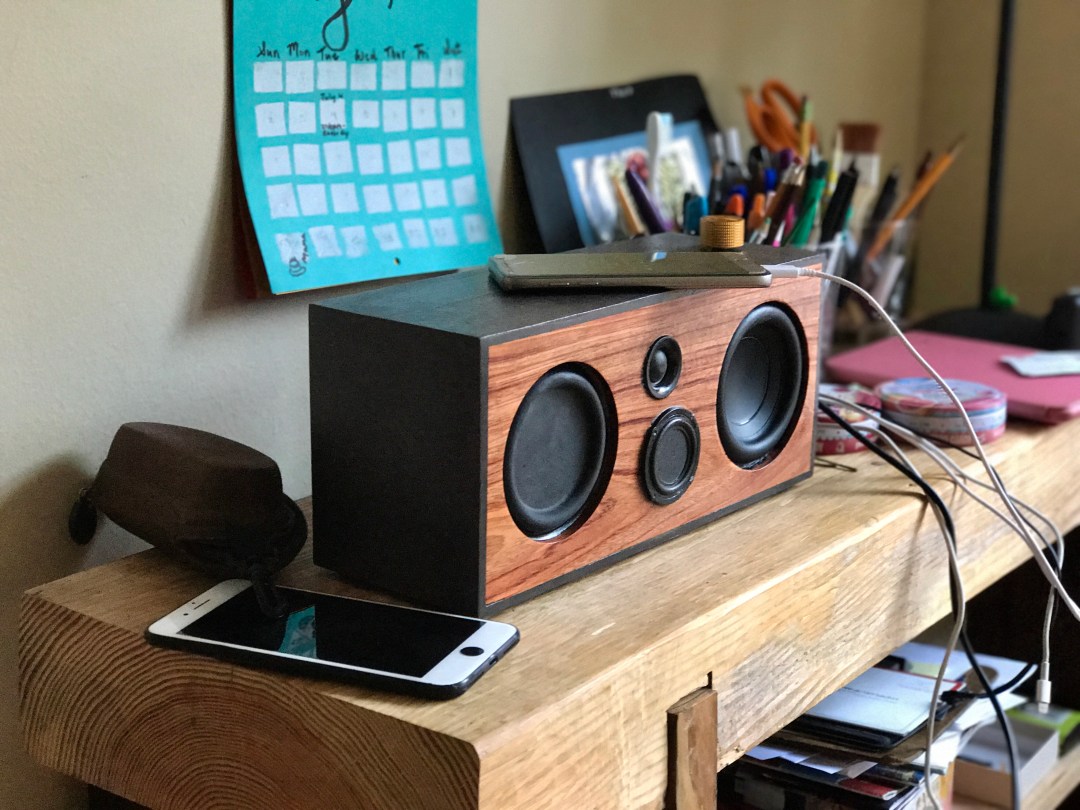
What’s the right wedding gift with 30 days of lead time when your friends are stranded across the Canadian border because of a global pandemic but they’re willing to risk it all for love and get married in a DMZ? I went with an Ikea cutting board. Well—to start.
It turns out that in places where border boundaries are blurred the acoustic offerings are slim. Without loud music (and strong drinks) no party is bompin, and without a bompin party, it’s not a wedding, so there was really only one thing to do: make a matching & linkable set of portable, hi-fidelity bluetooth speakers:


DESIGN SPECS
Cost of parts: $150 (ea.)
Loudness: 96dBSPL, 1m, @ 10% THD, A-weighted
Frequency Response: 50Hz to 20kHz ±5dB (but look at the curves down below)
Connectivity: Bluetooth 5.0
Battery: 3S Lithium-Ion, 37Wh
Runtime: 10 hours at “half volume” input (92dBA output)
Amplifier: 2x50W TPA3116D2 running @ 24V
Difficulty of Build: Dummy high—approx 120hrs from start to finish, requiring 2 CNCs and a 3D printer
In a lot of ways, this was a 2020 capstone project for me: to make something that’s loud, compact, and full of deep bass, with a 30-day conception to finish timeline, I had to pull out at least half of the dirty tricks I’ve learned over the last six years. Here’s how it went down.
ACOUSTIC DESIGN
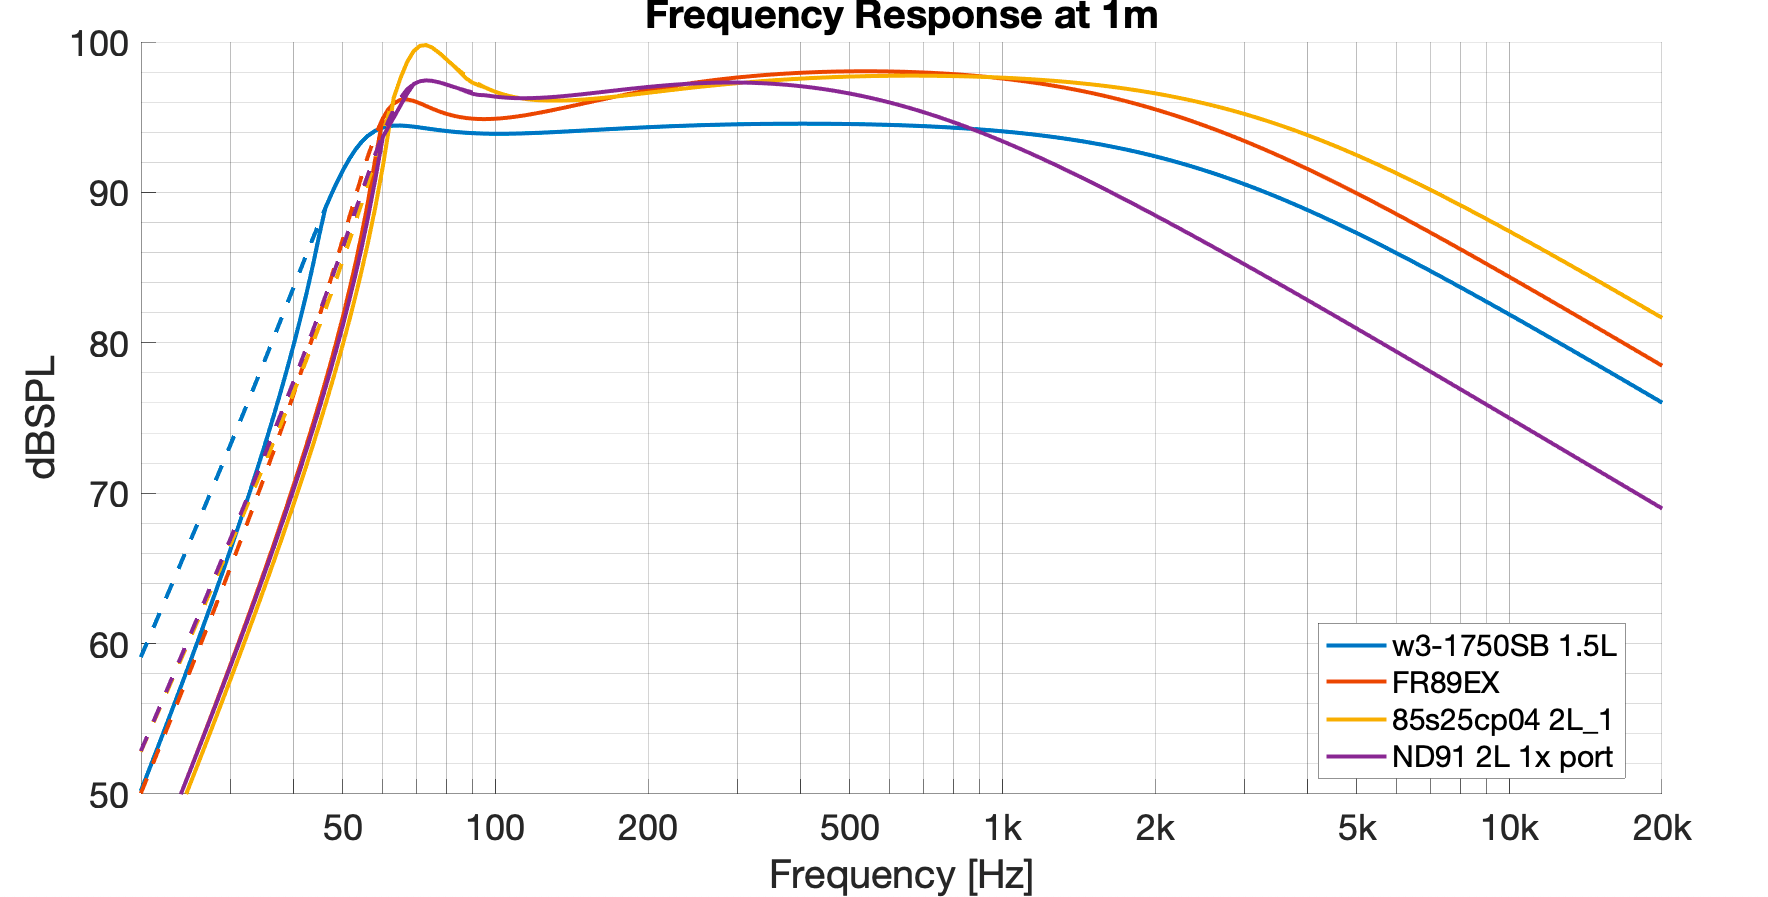
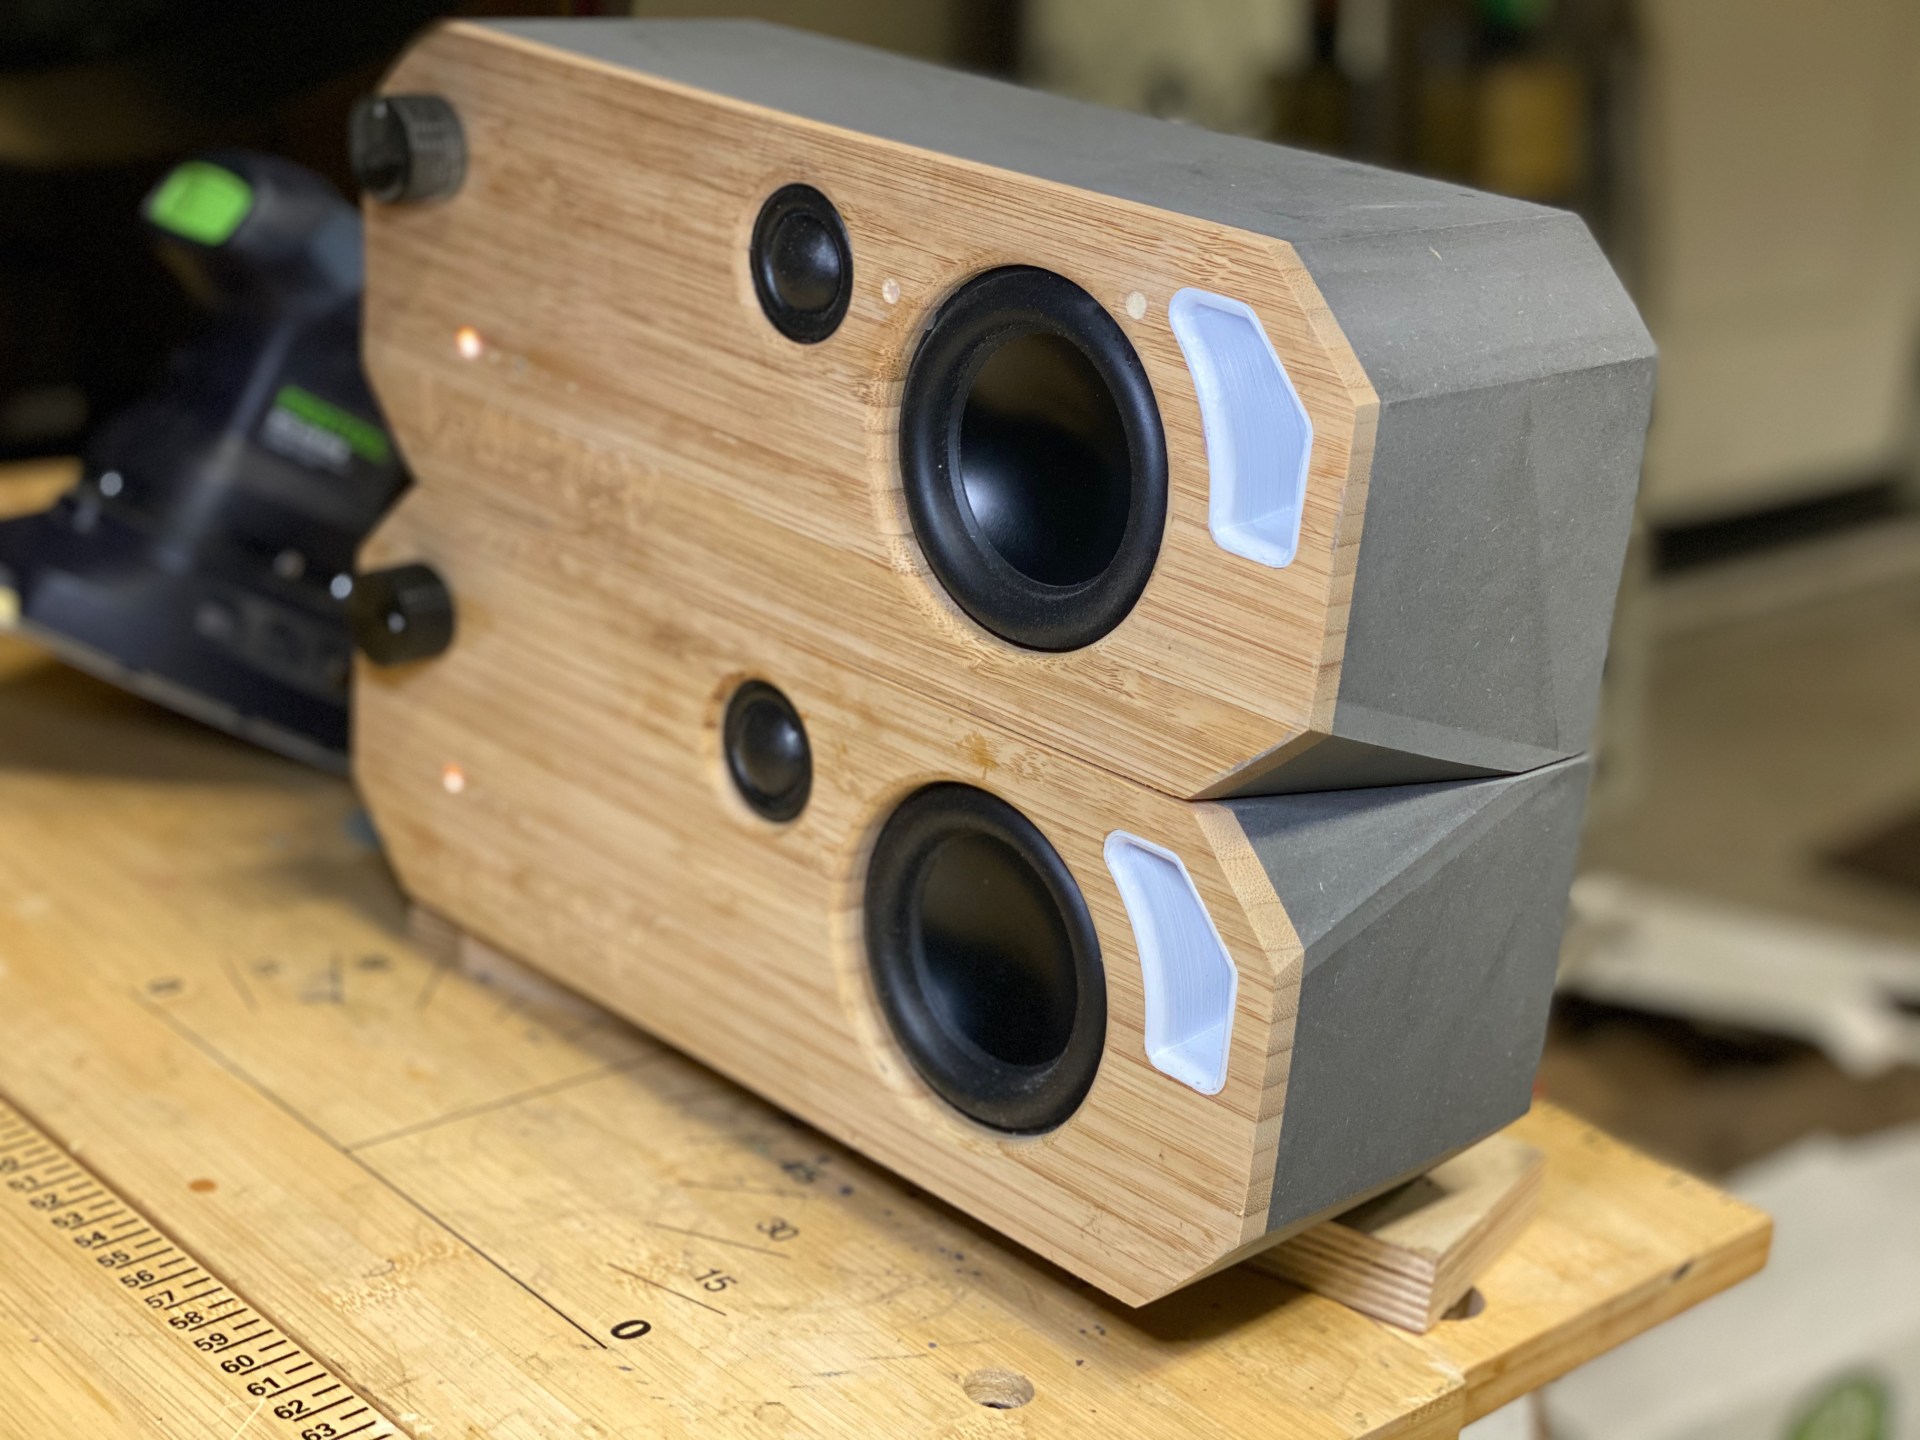
When it comes to compact loudness with a lot of bass, excursion and efficiency are the belles of the ball, and although I simulated almost every 2-4″ driver I could find, the Dayton ND91-4 drivers (descended from long-gone AuraSound’s Neo-Radial IP) are nearly unbeatable when you factor in magnet strength, Fs, Xmax, price and weight. E.g. Peerless SLS-85S25CP04-04’s (catchy name huh) are potentially 1dB louder for a similar box size but weigh 285% more, while the Fountek FR89EX win for Xmax but need too much back volume and are 2dB less efficient…etc and so on. Just trust me on this one. In a 1.5-2.5 litre box: ND91-4, tuned low.
Tweeters are a fair sight more efficient, so down selection should be mostly driven by crossover frequency, dispersion and ease of integration. The ND91s break up right after 3kHz:

While the ND16/ND20 tweeters are truly amazing, they have to be crossed higher, and they come with a bunch of extra plastic, which clashes with the ultra compact layout I pushed. LaVoce’s TN100.70 did the trick and can be crossed over at 1.5kHz, which was perfect—the lower a tweeter can be crossed (disclaimer: within its volume displacement limit), the better. Finally, the TN100.70 dispersion is on par with the ND20FA tweeter @ 20kHz (-15dB):

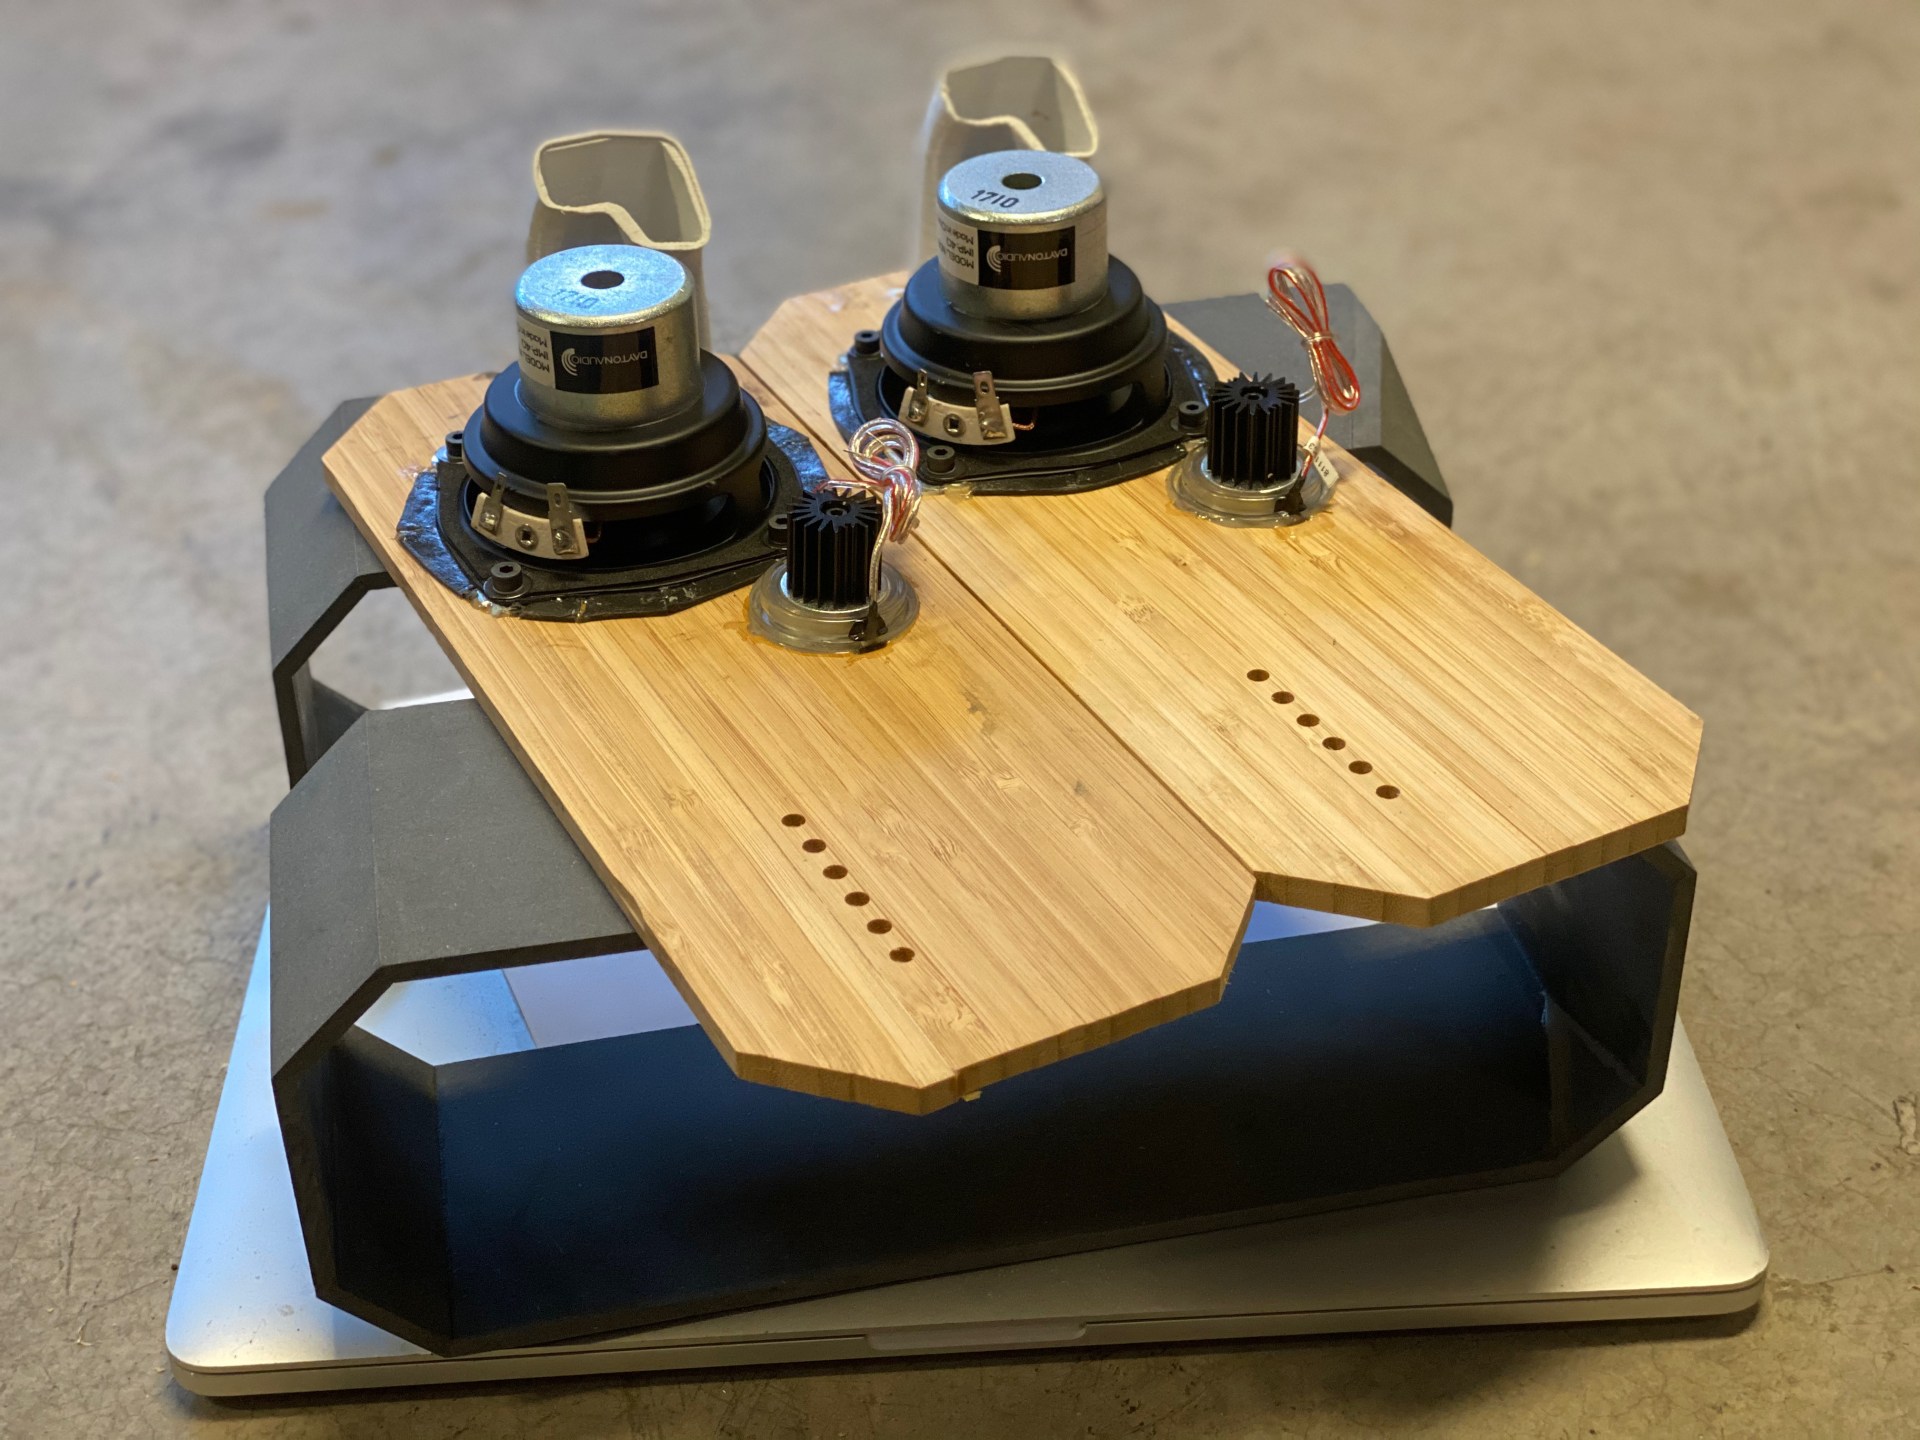
As for the port, in order to maintain compactness and b-b-bass, I had to fit 250mm of port into a 2.5L box while keeping a holdable 4-inch width so I folded it around the ND91 and then crushed the port geometry until it fit in between the driver and borders of the speaker. Tweeter in green, port/body in pink, and woofer in yellow below:

Driving the woofer and tweeter is a 3S 3500mAh battery pack (I use LG 18650s that I order B2B from the factory) paired to a 2x50W Class D TPA3116 D2 amplifier through DC-DC step up converter for maximum power delivery. WONDOM makes a wonderful TPA3116 board with the DSP integrated, which merges with their 3S MPPT Battery Management Board, although to my late-stage chagrin neither of the boards have a step up to power the TPA chipset at an adequate 24V.
BUILD PROCESS
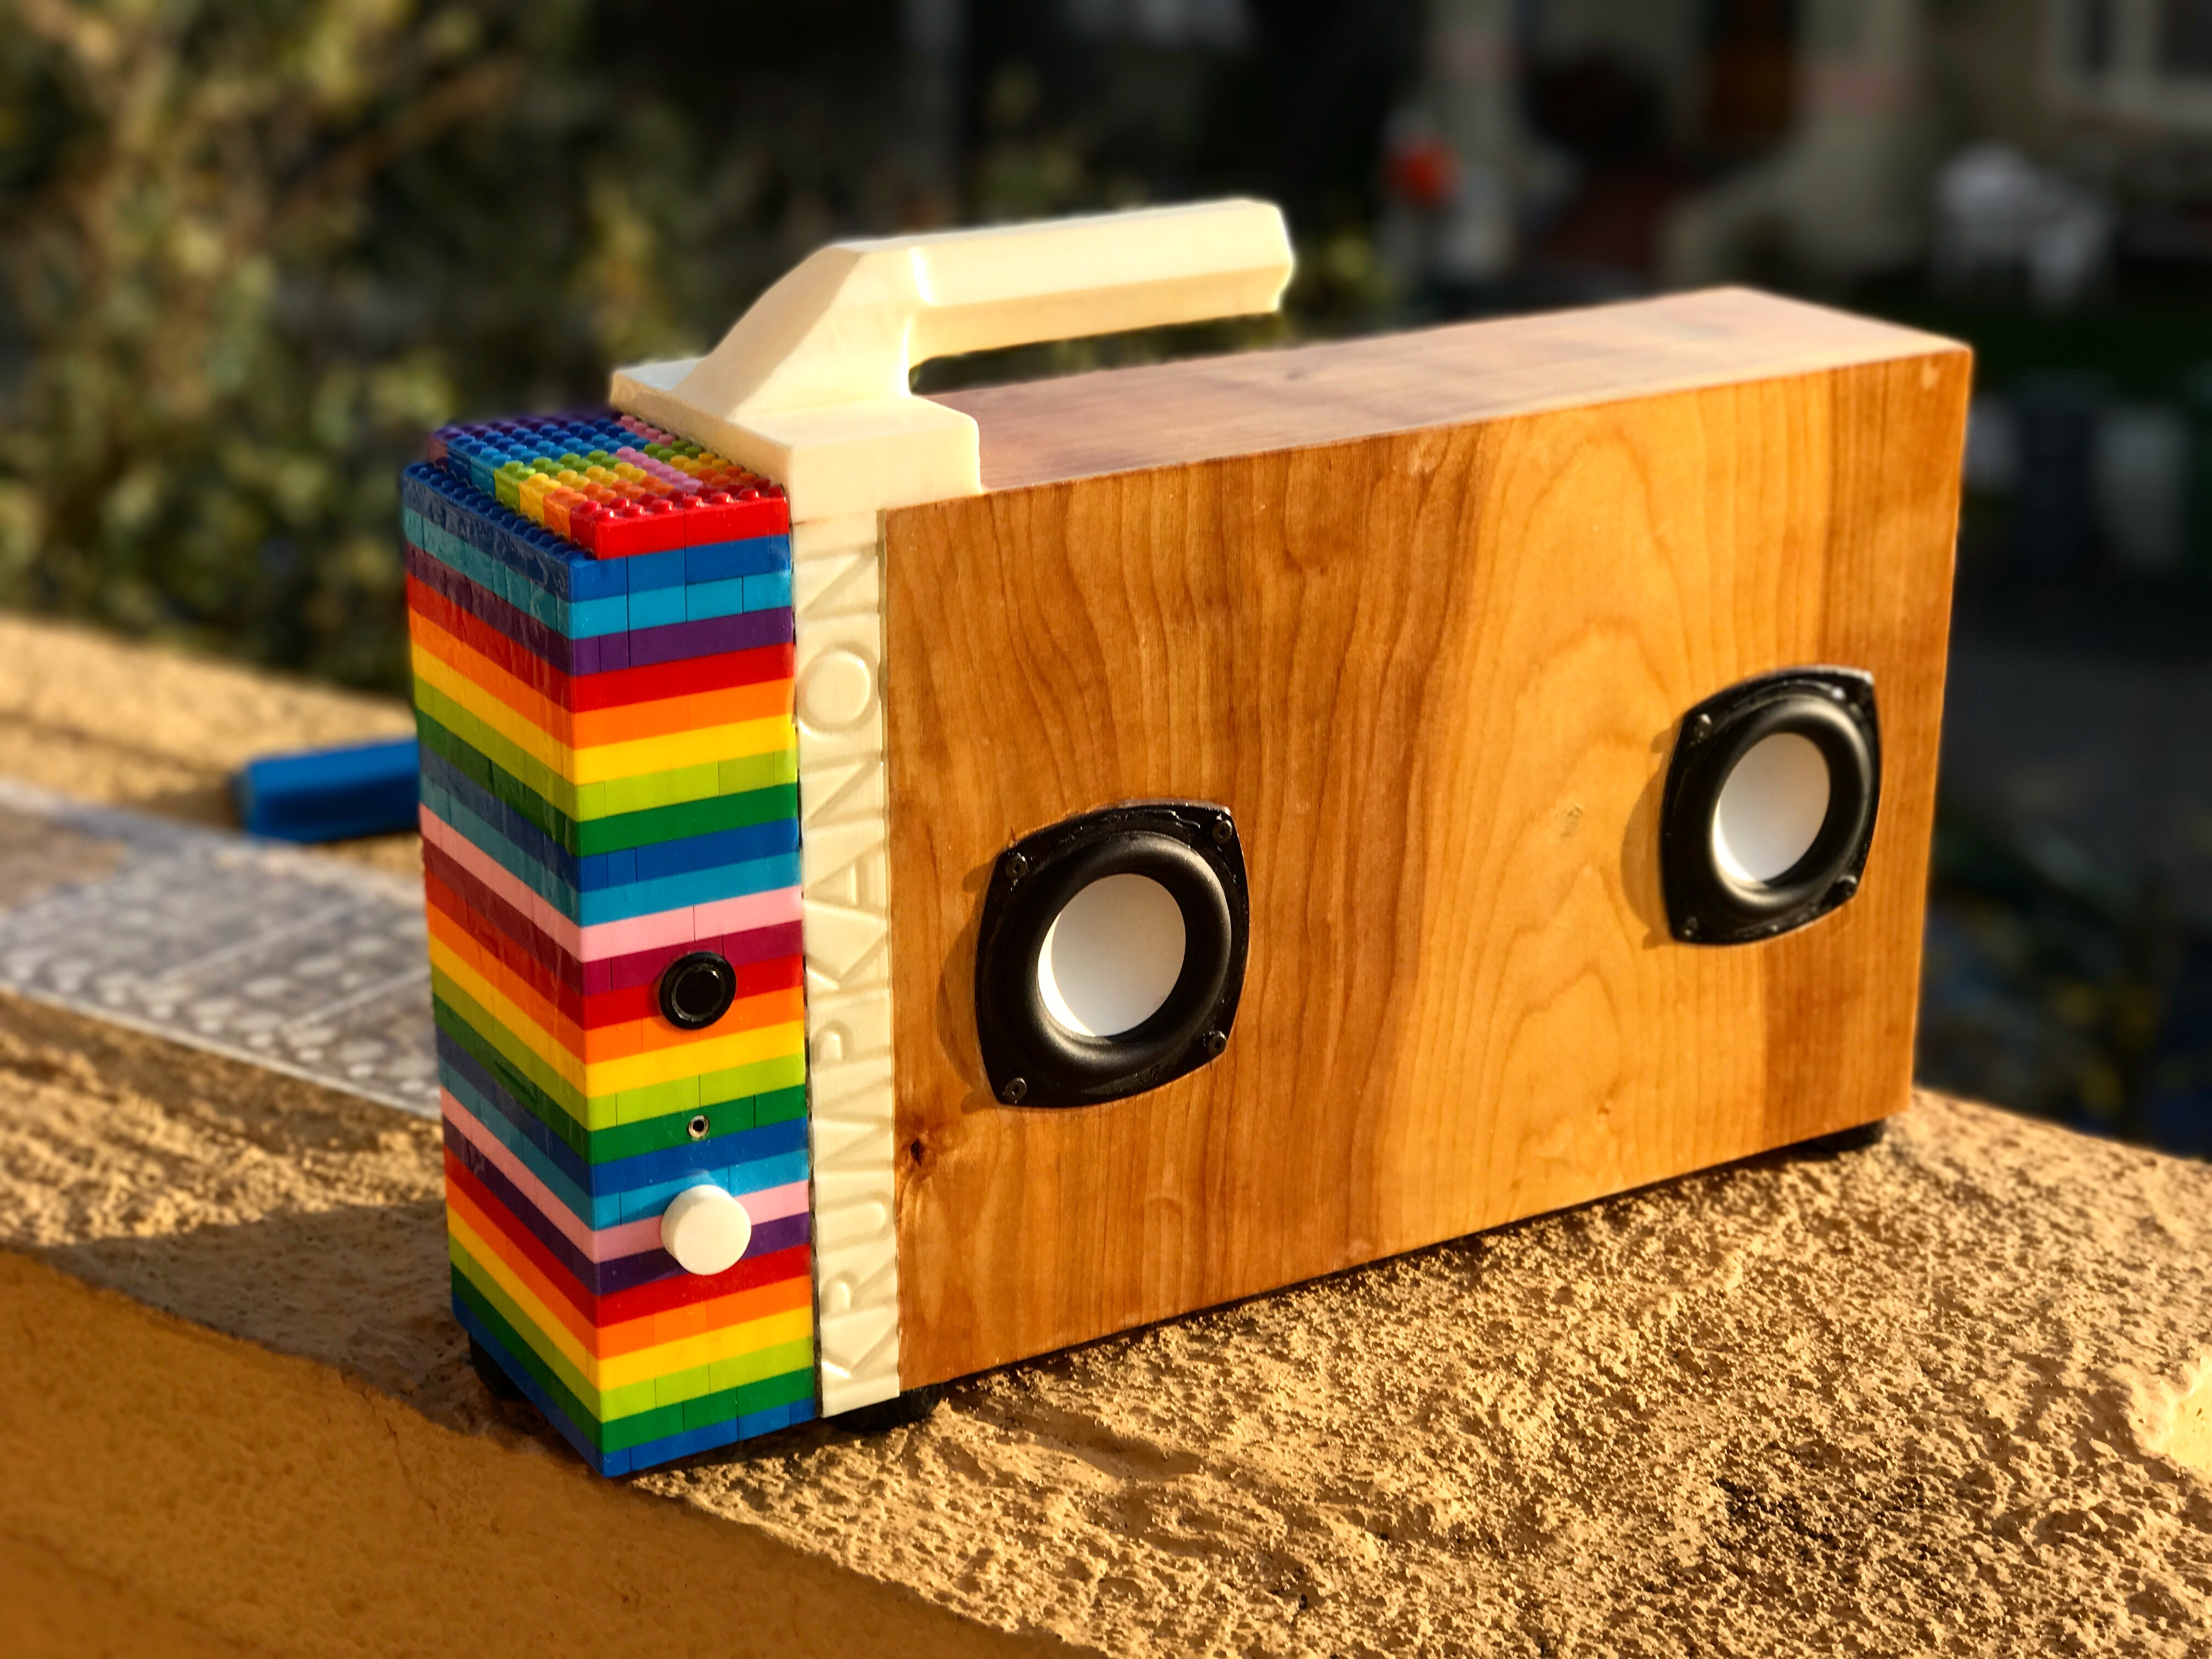
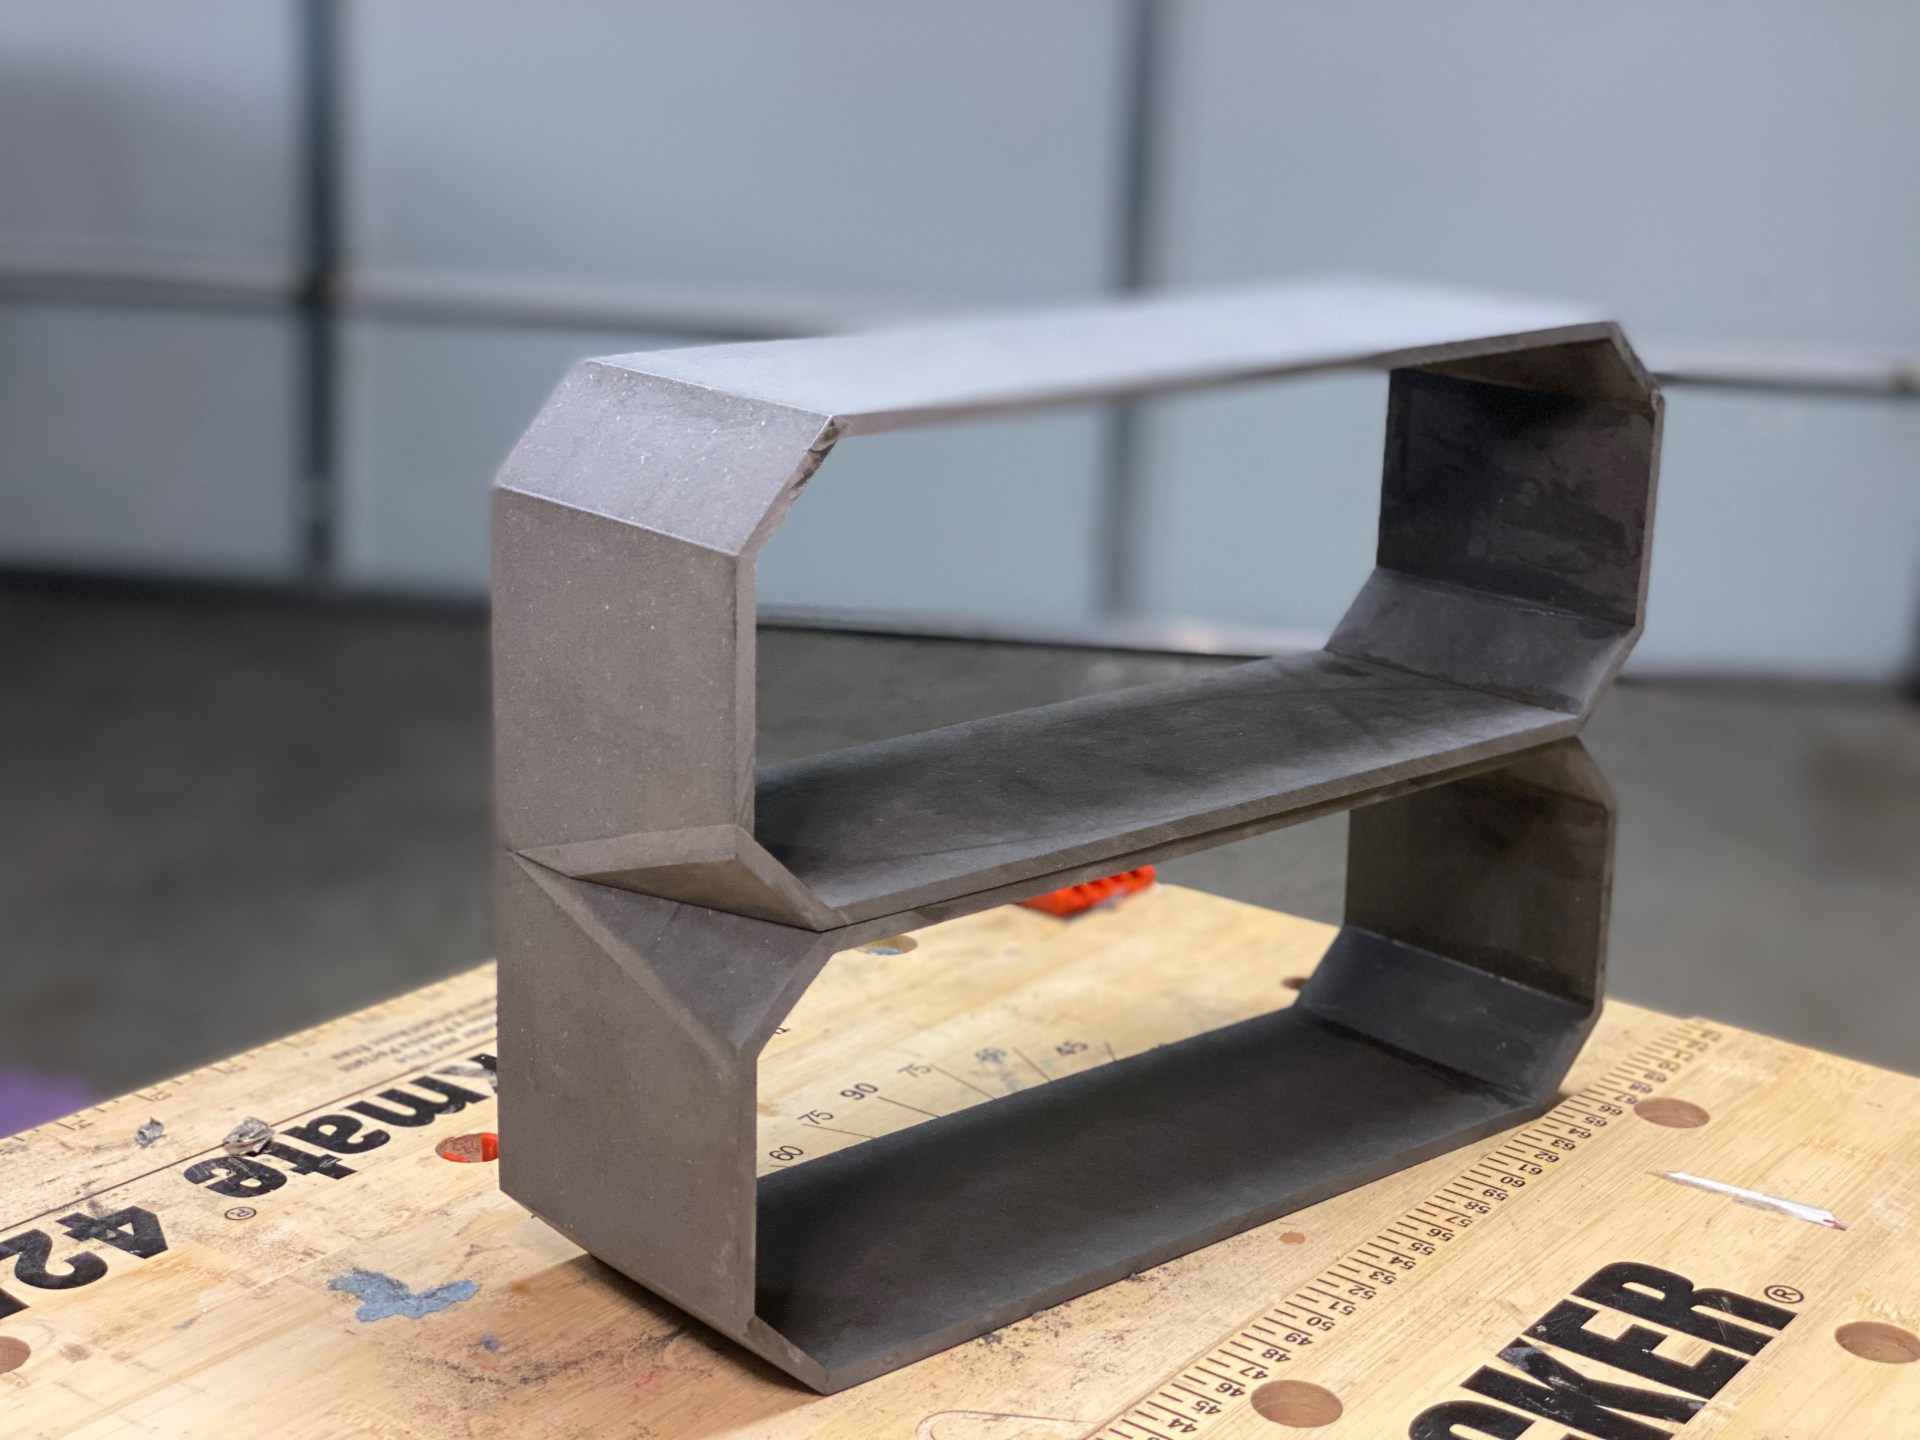
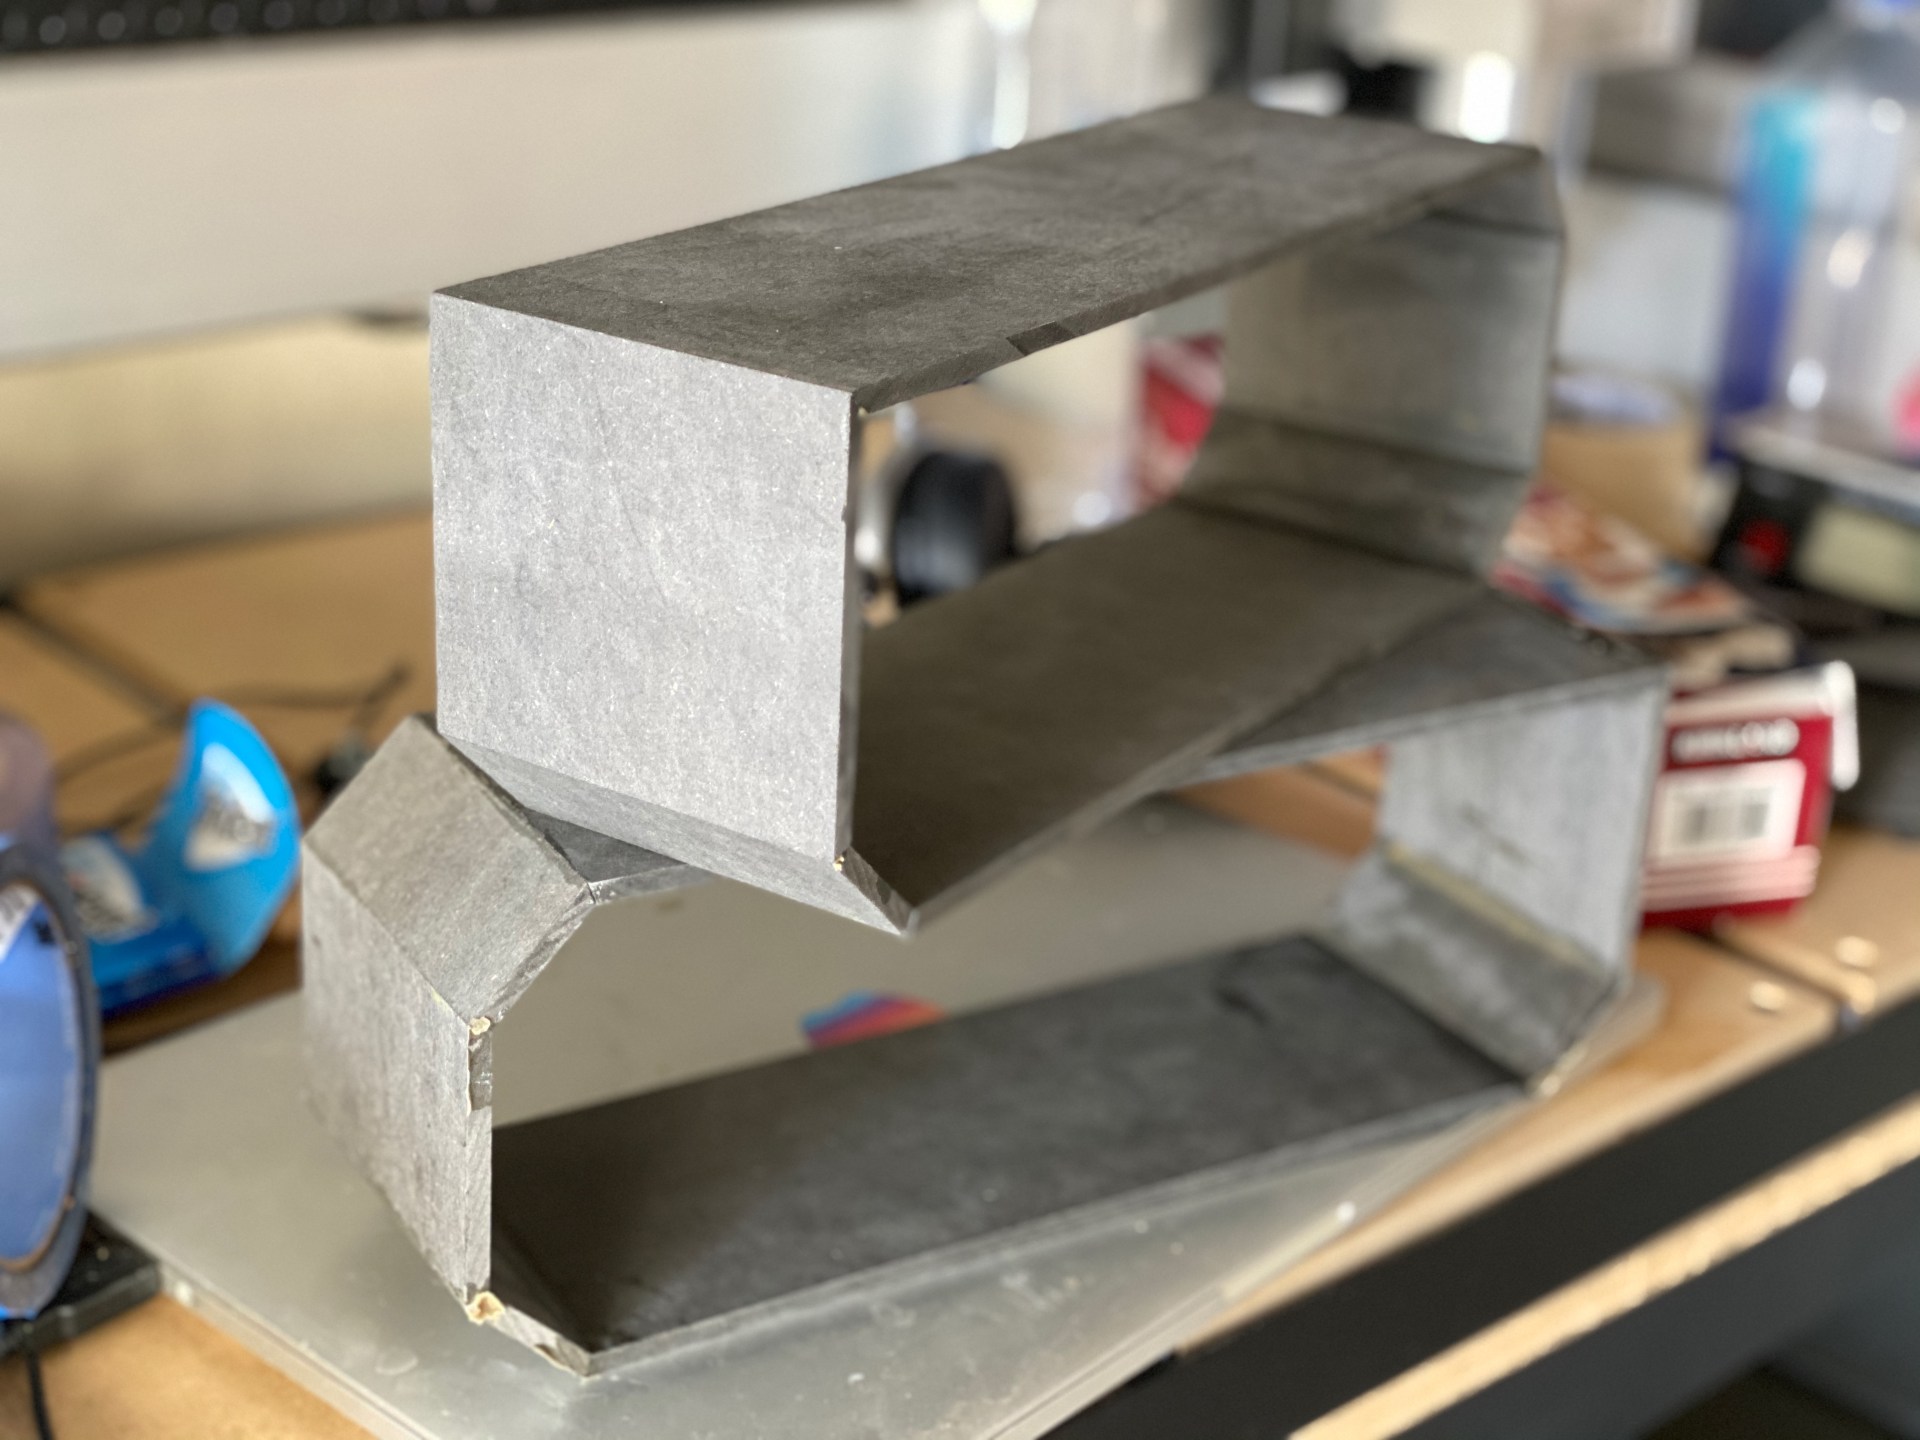
With the acoustic design tucked away 15 days from the deadline, it was time to build. The octagonal outer shell is just a set of 22.5° mitres, tape-clamped, with the patent-pending dual-bevel 8th wall precision cut to match:
The front face was a 2 sided CNC operation, which required calibrating features for aligning the Shaper Origin I used.


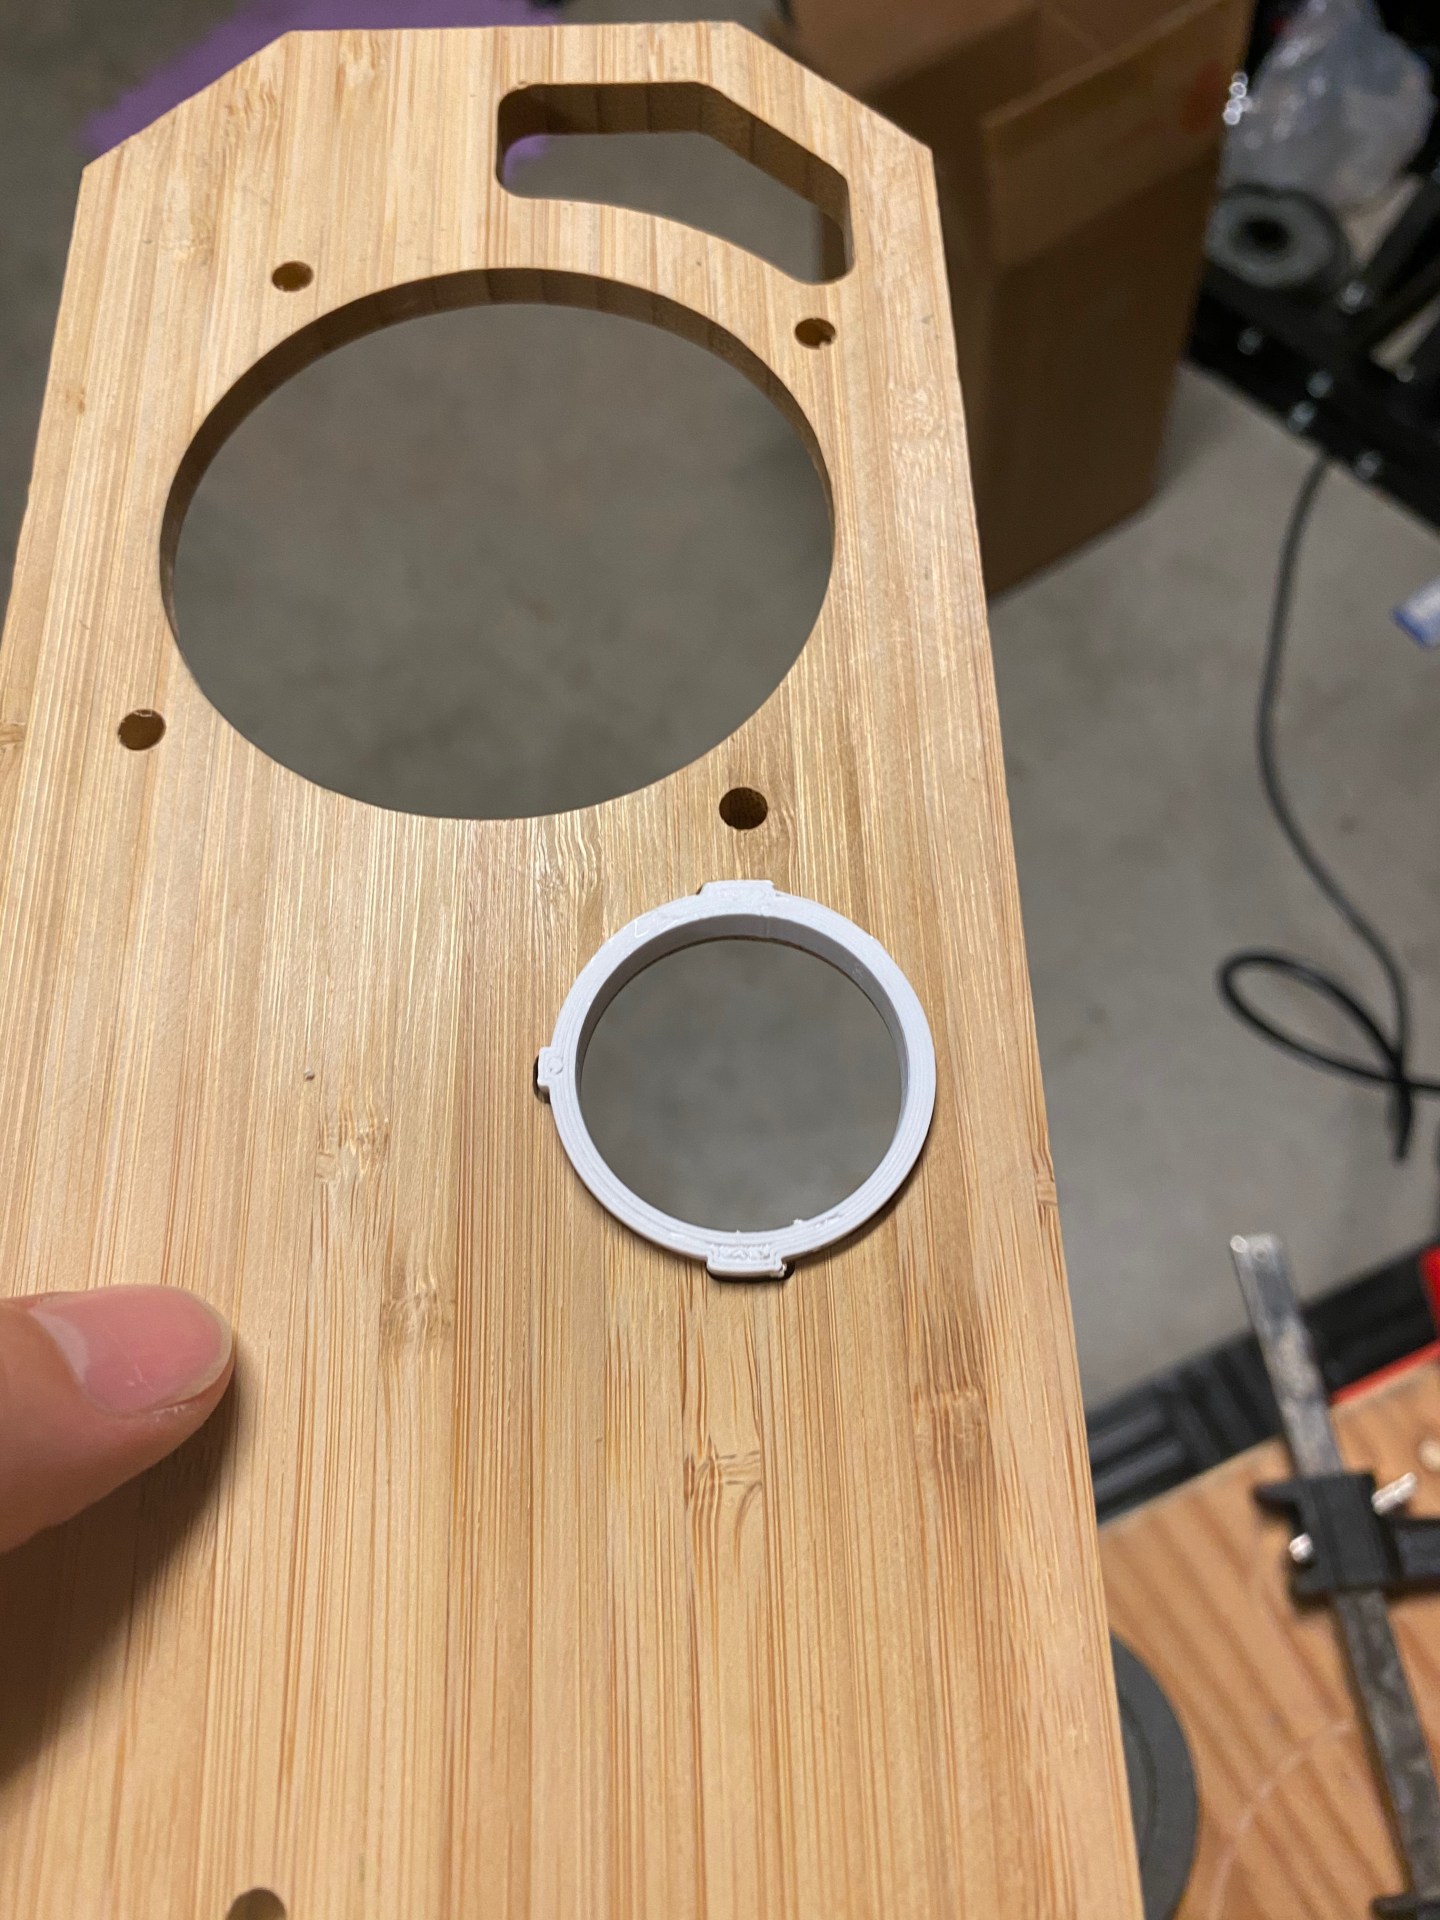

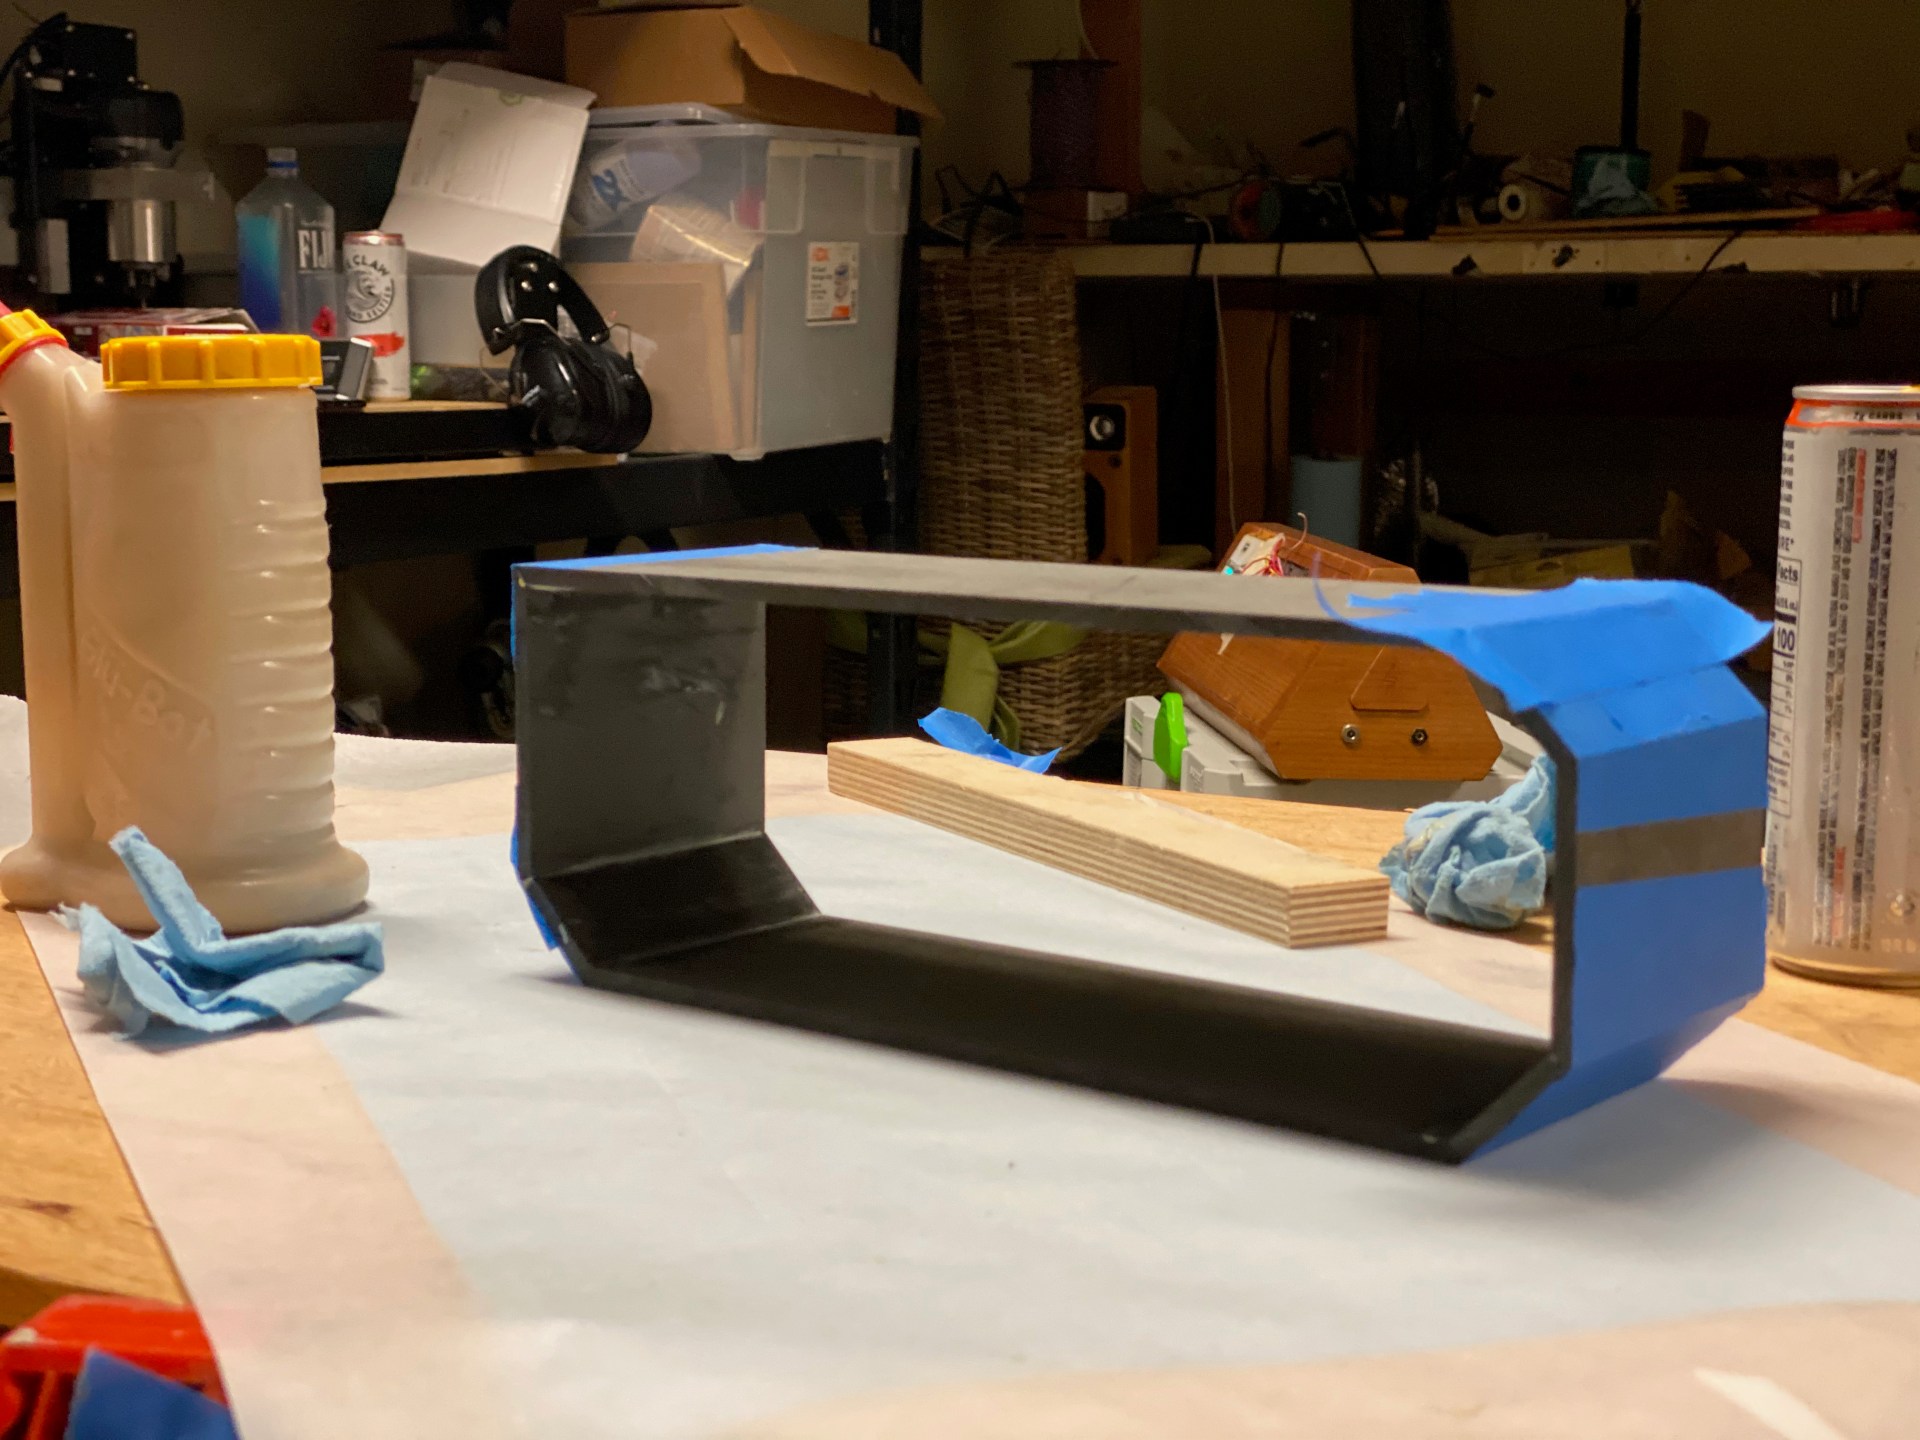
Merging the two pieces with the speakers and the front mounted the port was rather easy except for some minor mishaps with a few missing microns; the t-nut I planned to use to rear-mount the woofers were exactly 300 microns short of the planned front face thickness, so after sanding I had two t-nut holes showing on the front face. The port itself had to be printed in 3 pieces because of the complexity of the geometry to fit it both on the border and between the woofer and the back panel:


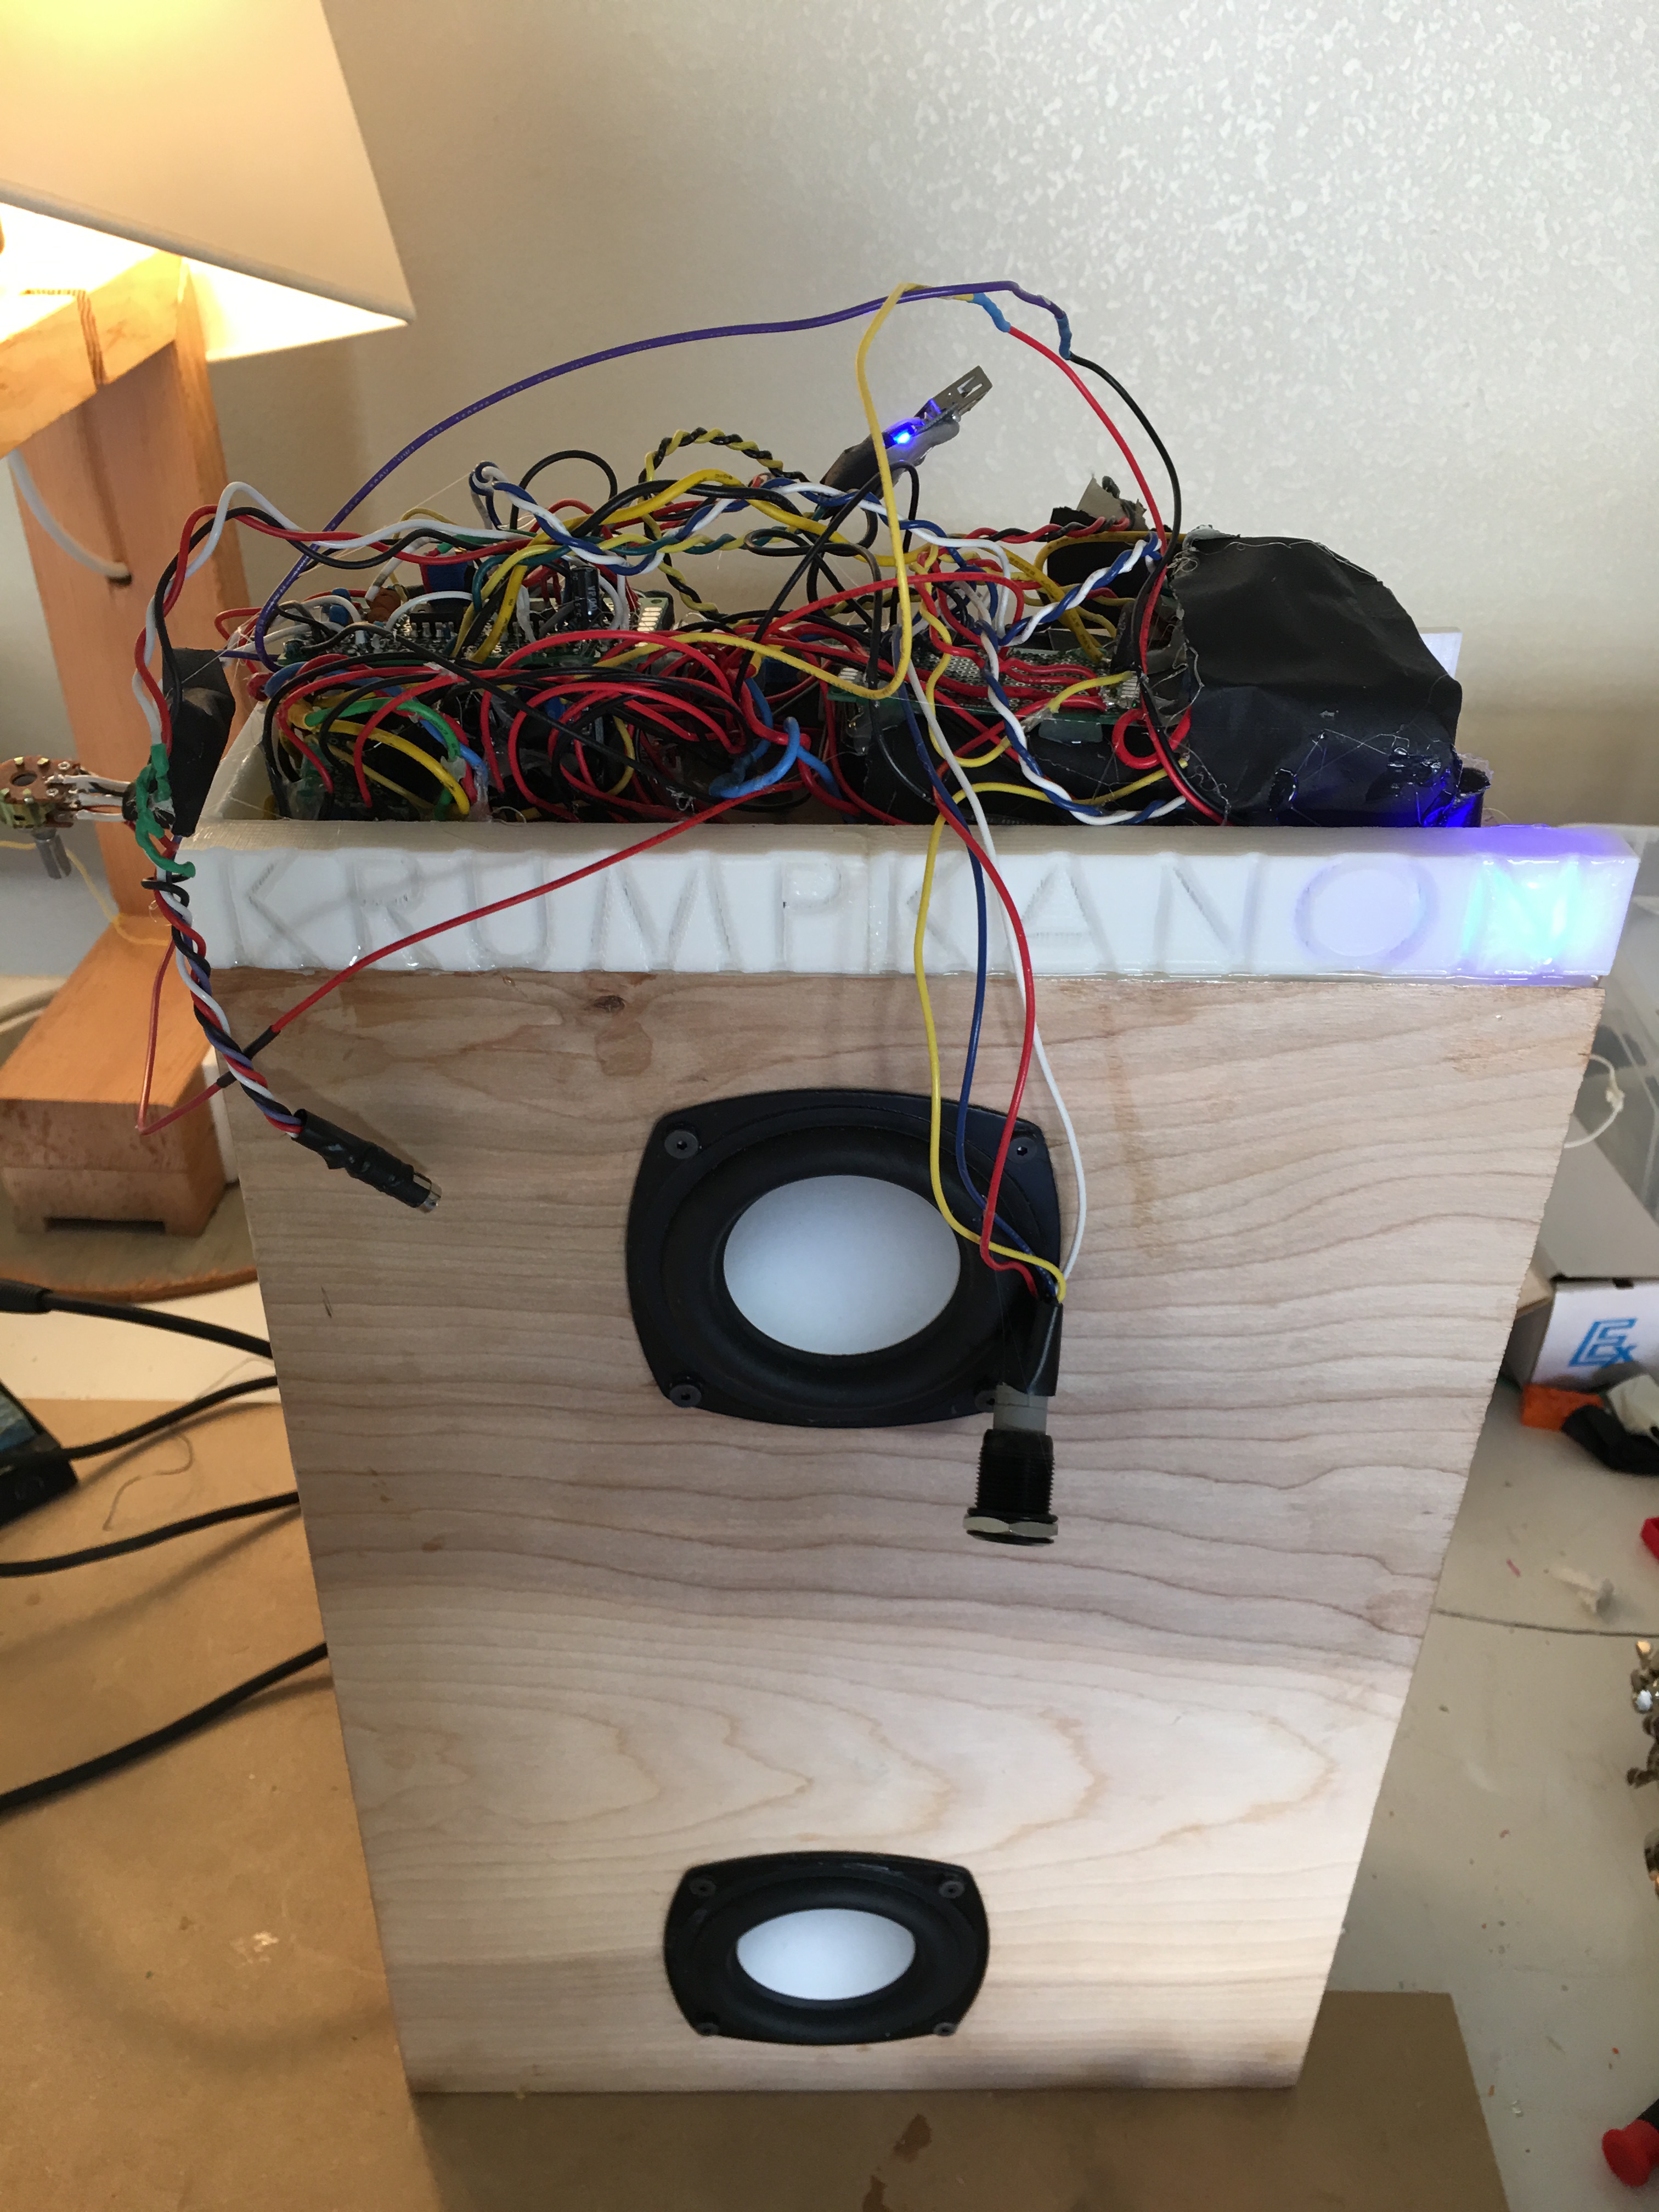
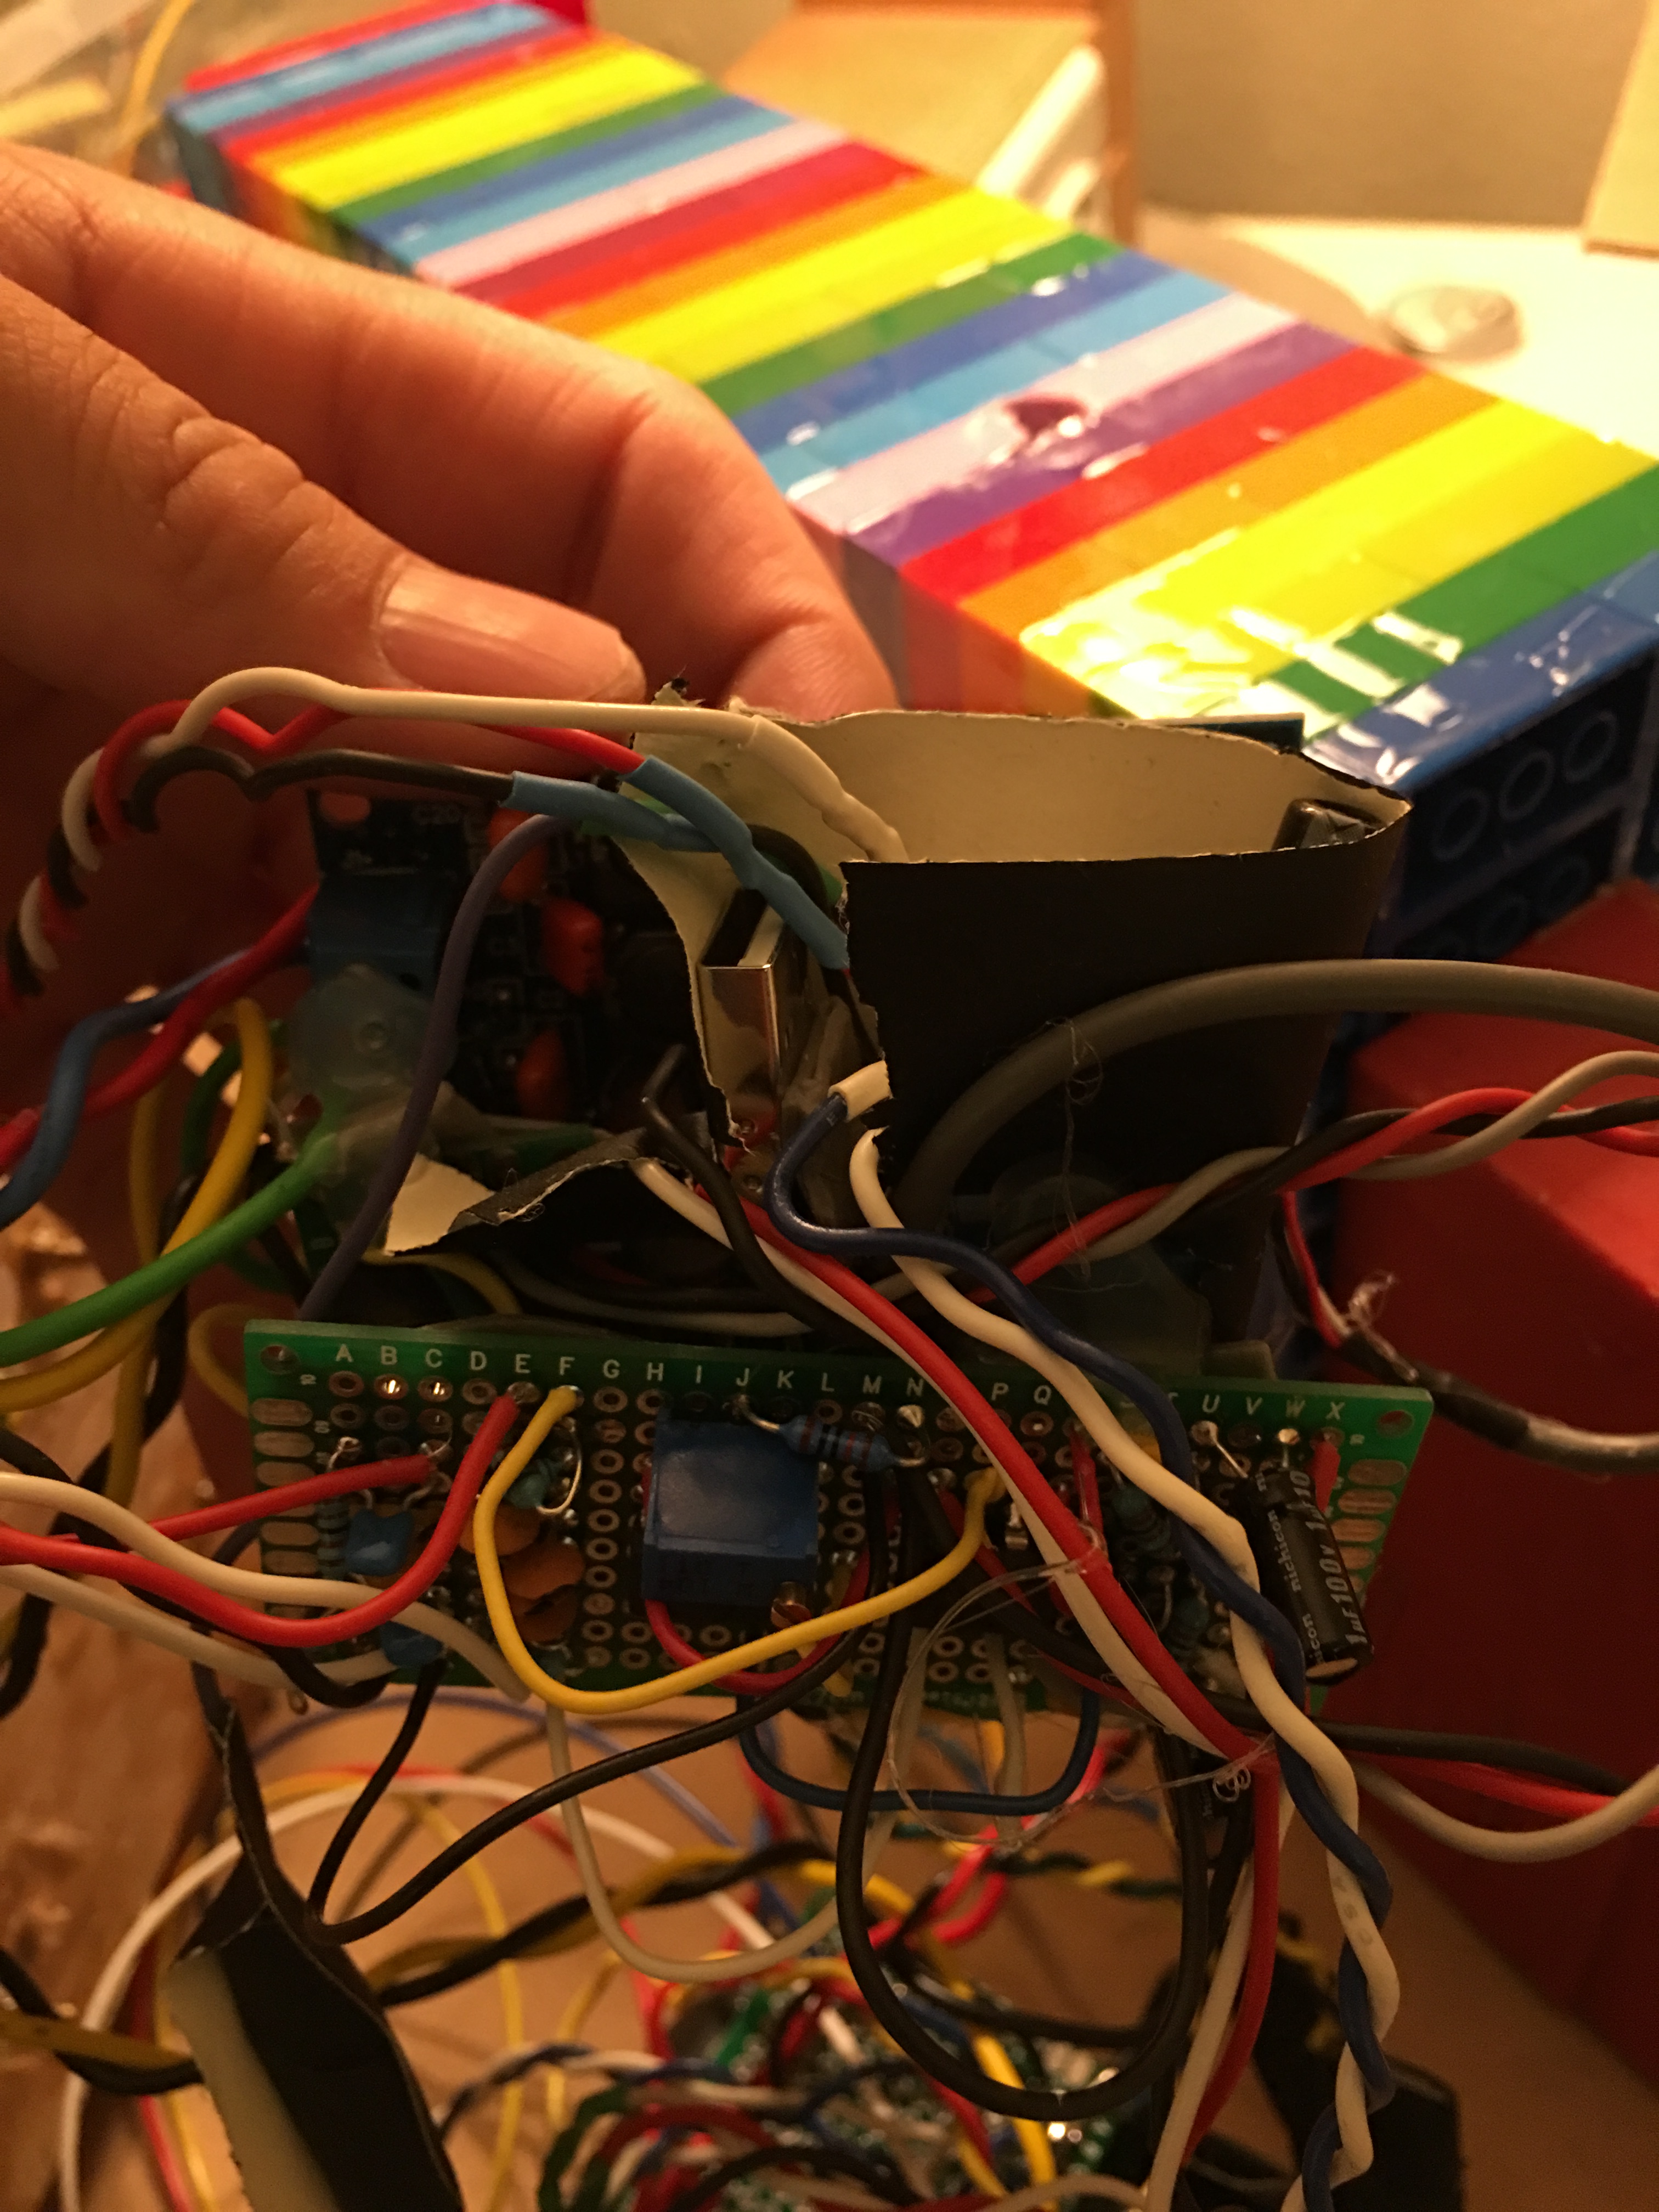
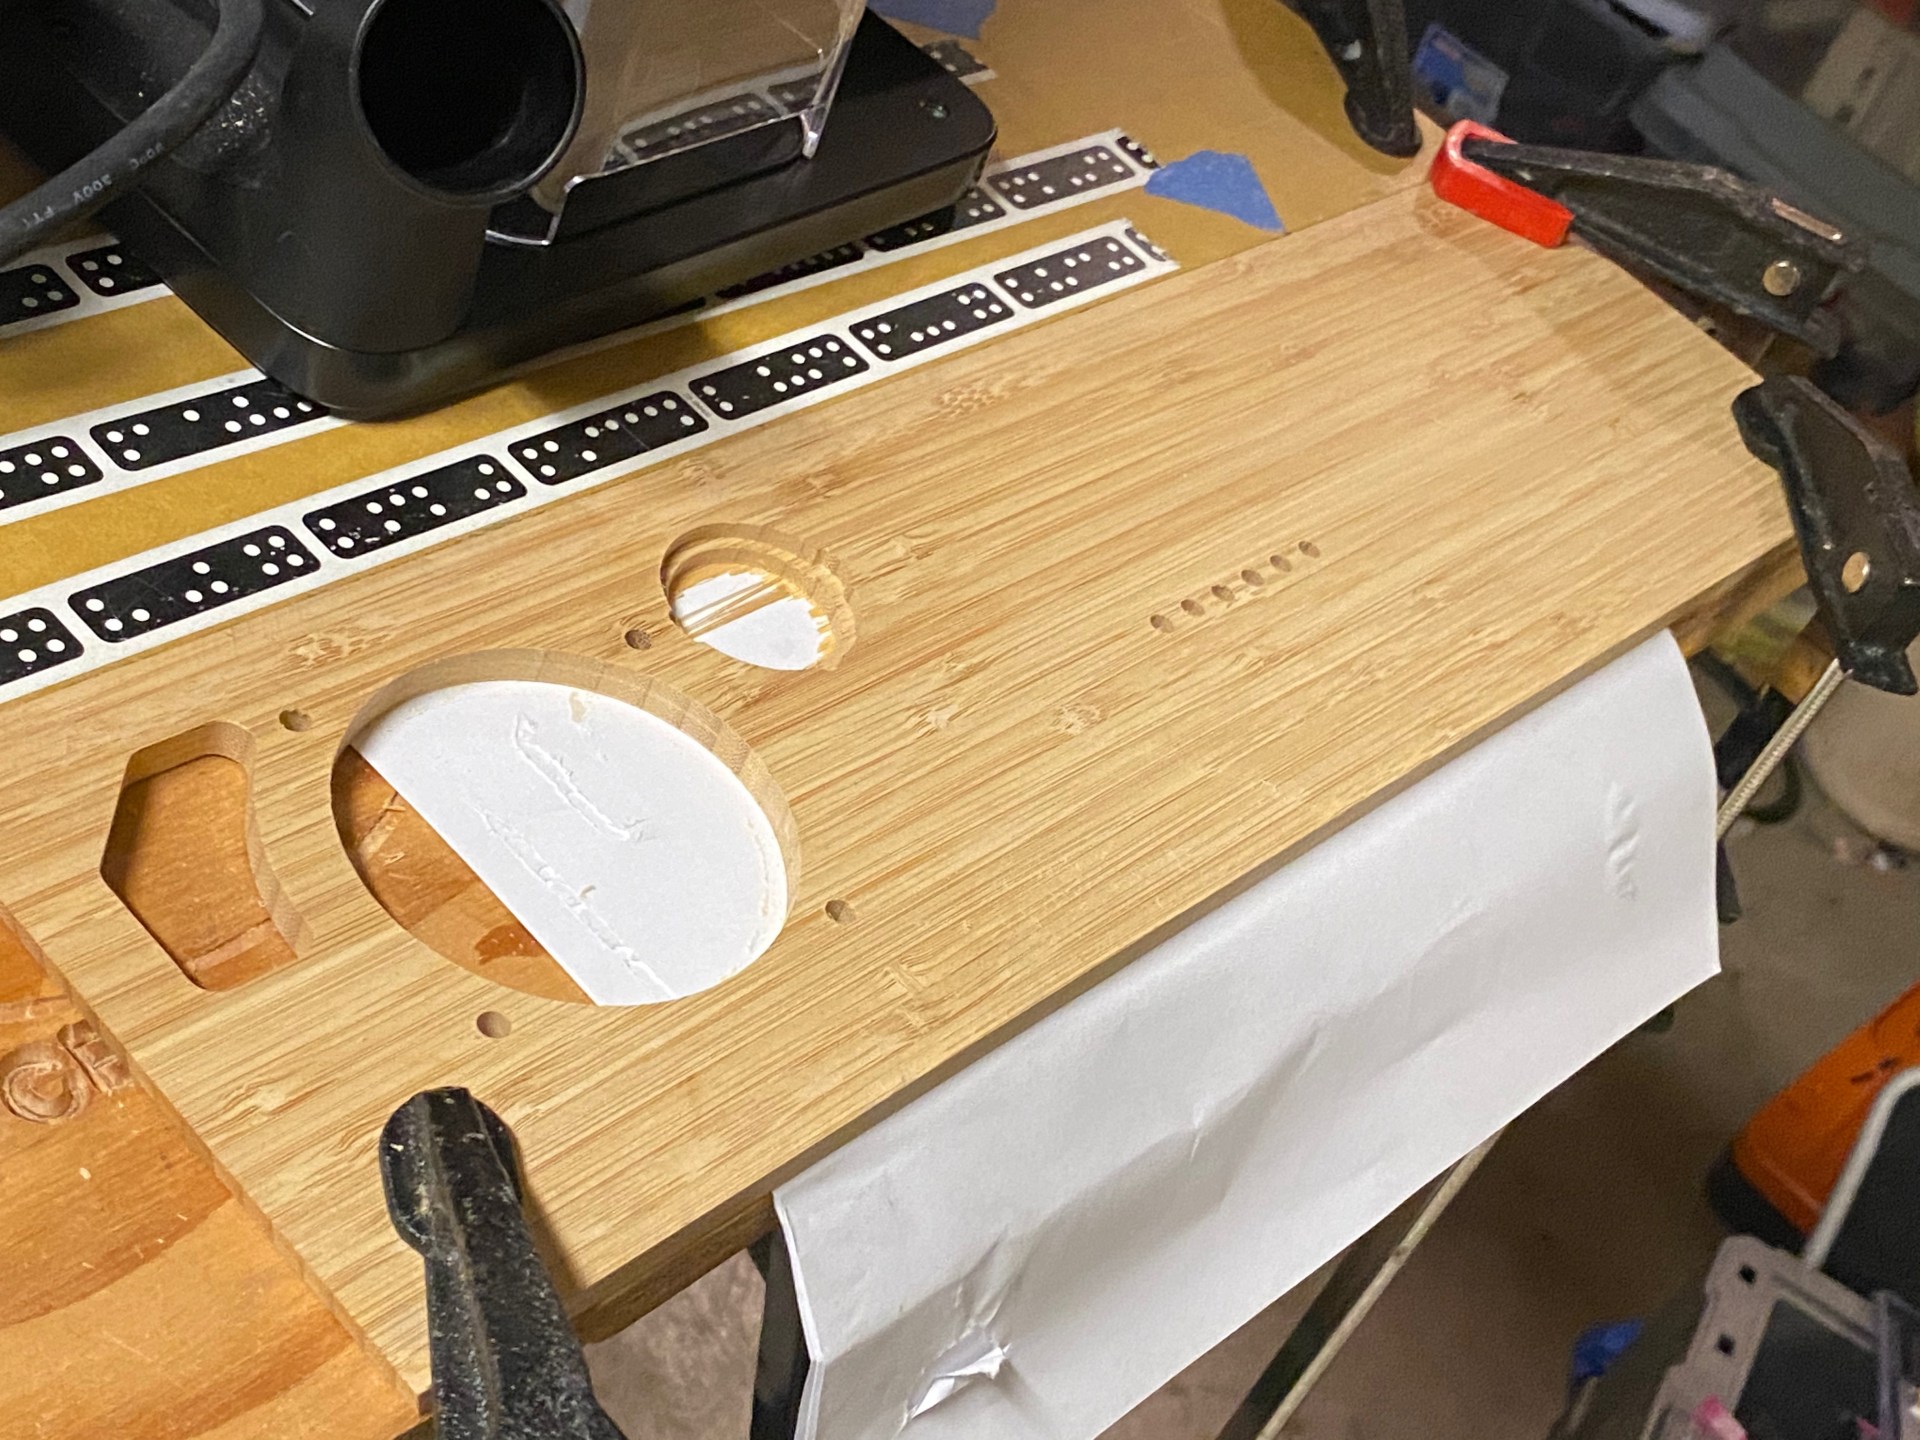
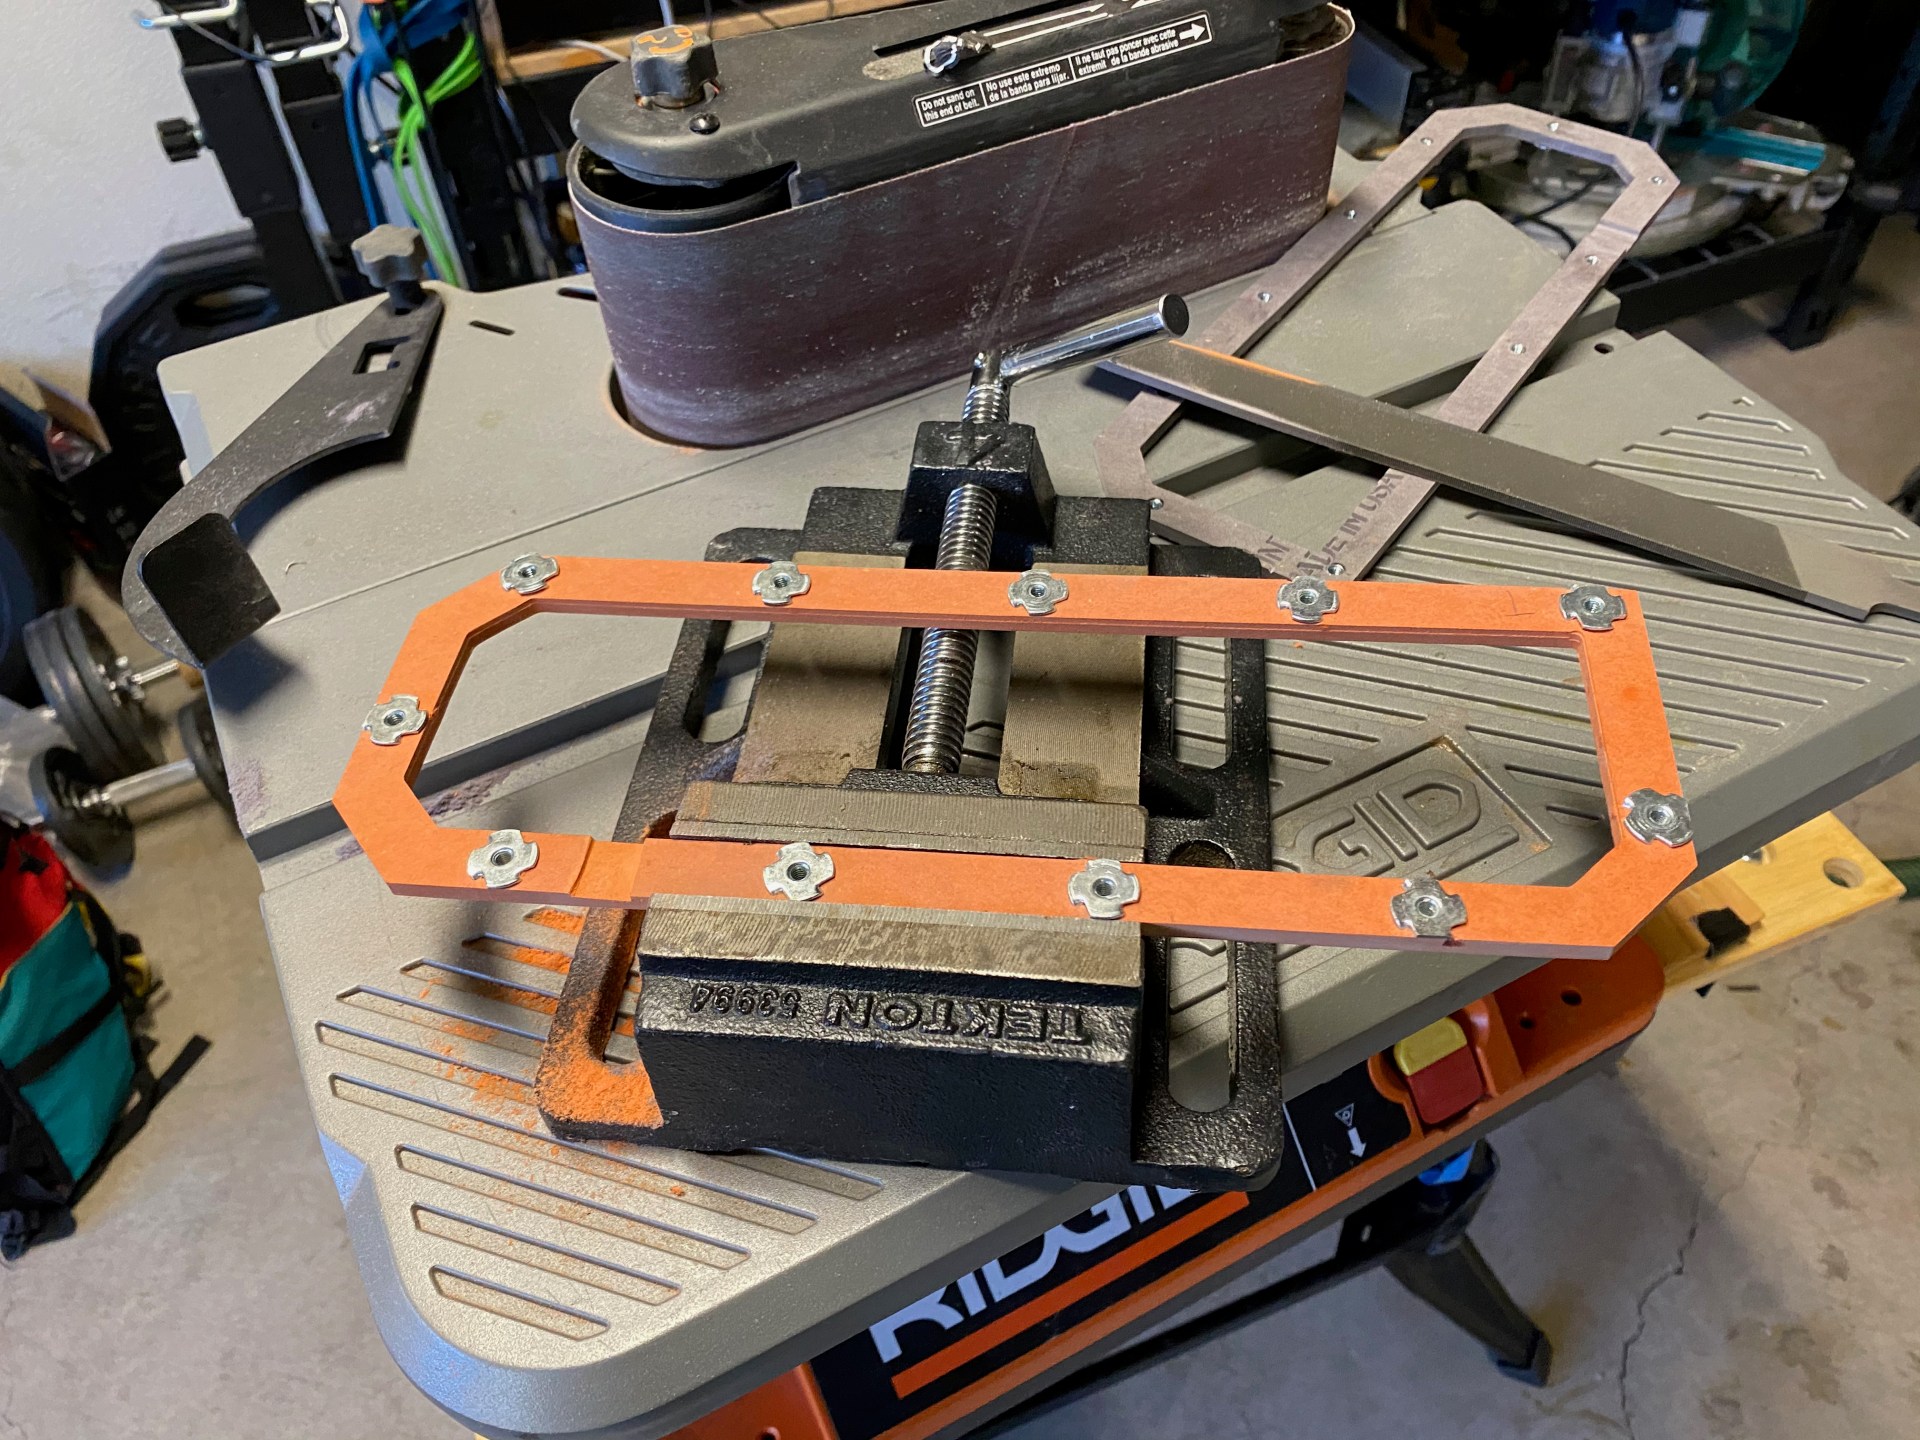
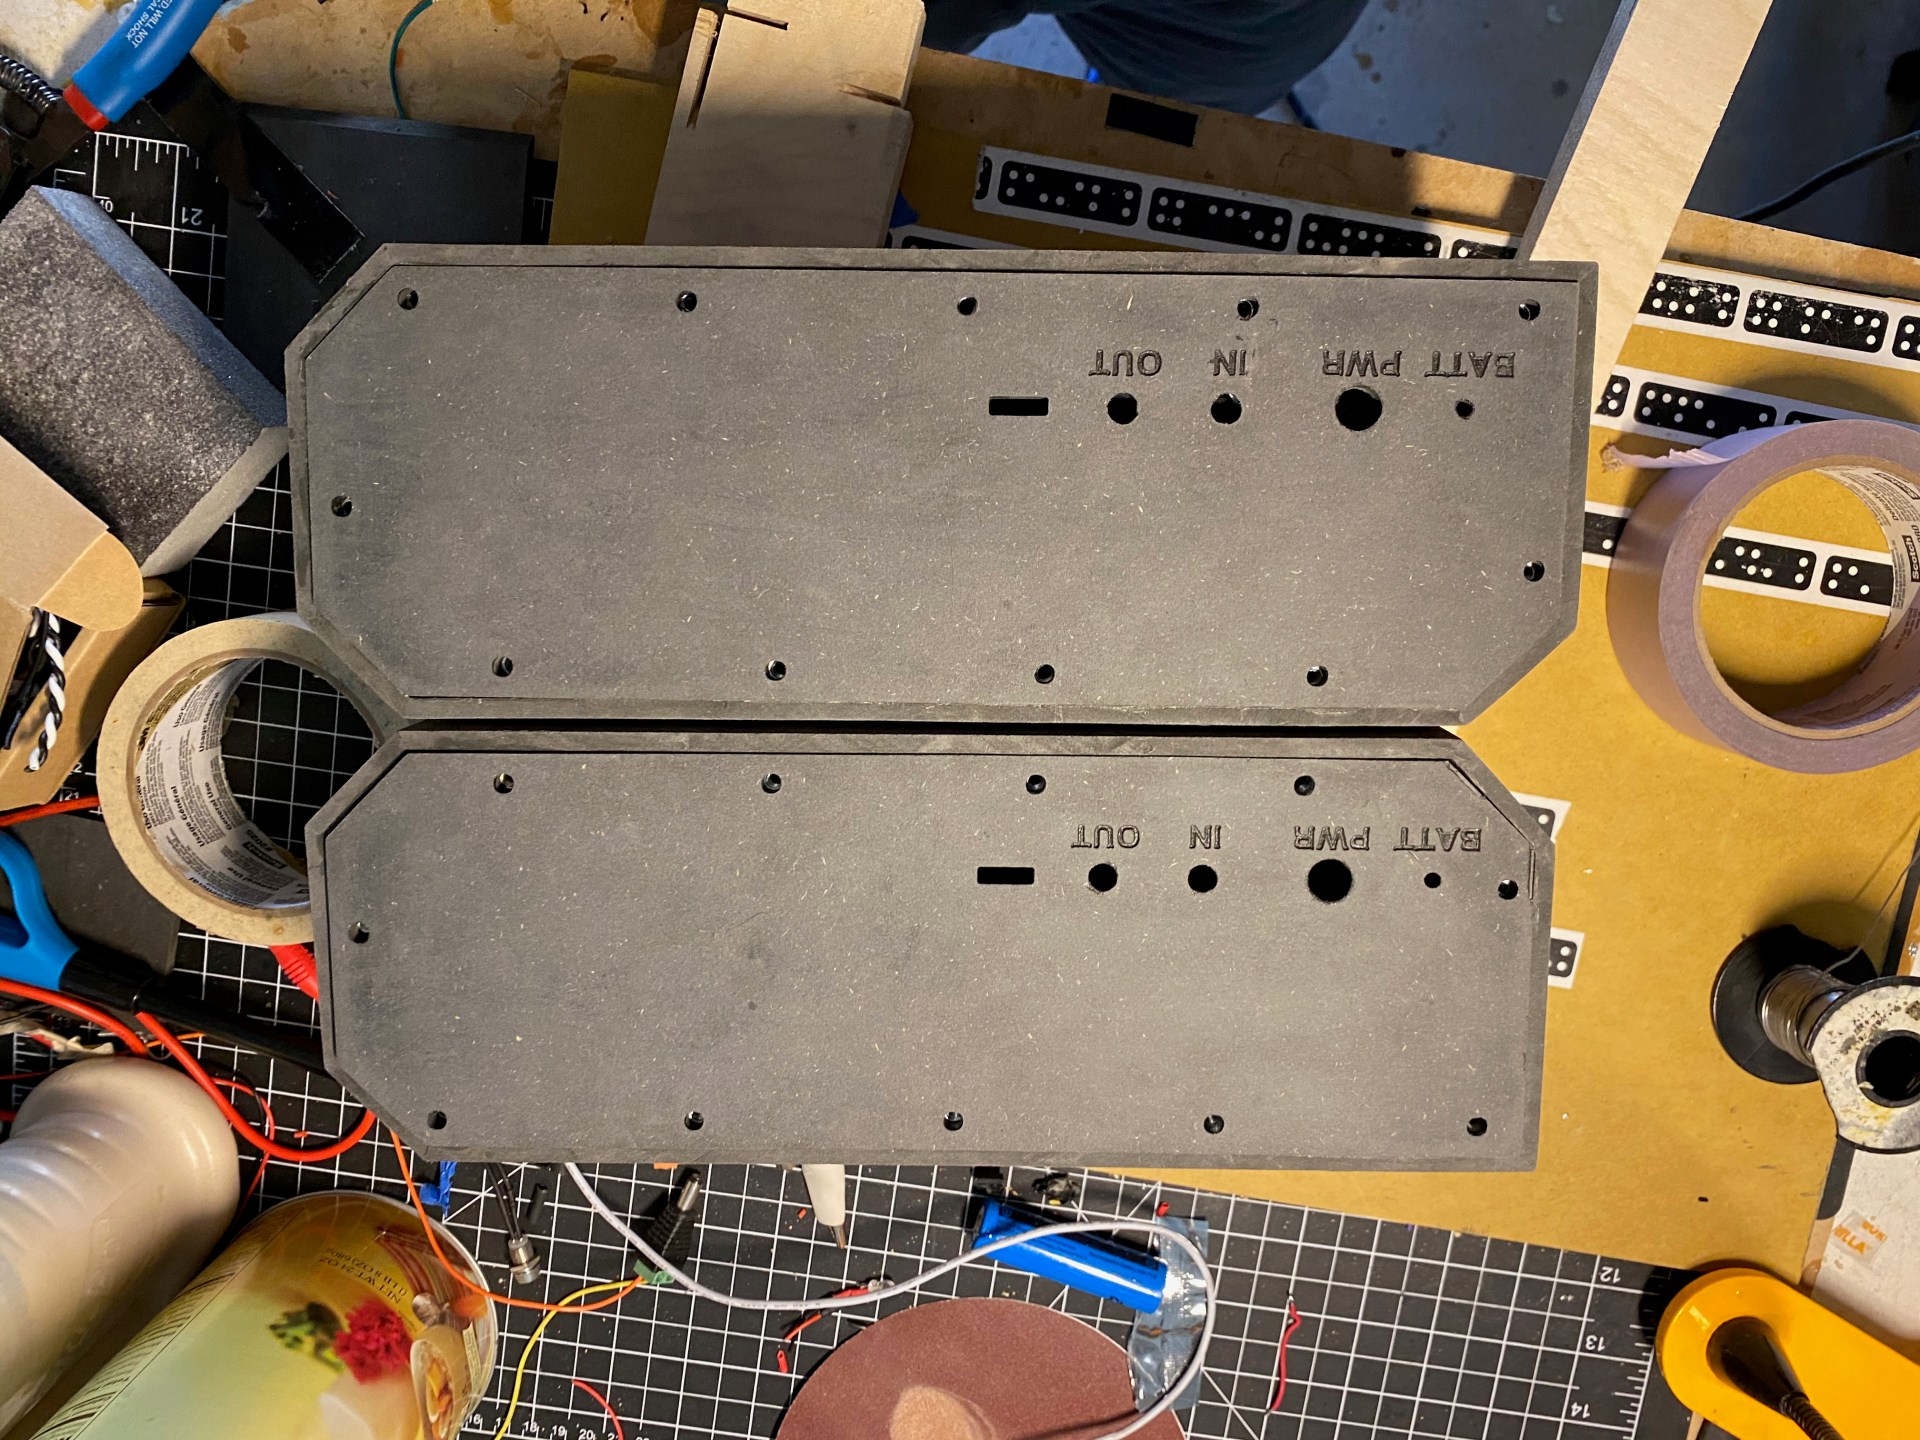
With space at a premium, but also for aesthetics, I used an LED array for status lights and integrated the on switch into the potentiometer. With that in mind, I also fabbed an ultra slim 6mm bracing/sealing ring for the rear panel mounting, as a butt joint would’ve been ugly but the shell was too thin/weak for threaded inserts. Those loose microns got me again and the flange on the port interfered with the built dimensions of the rear panel, so I slotted that out, but after some truly painstaking finagling of circuit boards, 5 days before the wedding ship date, I was ready for sound test.

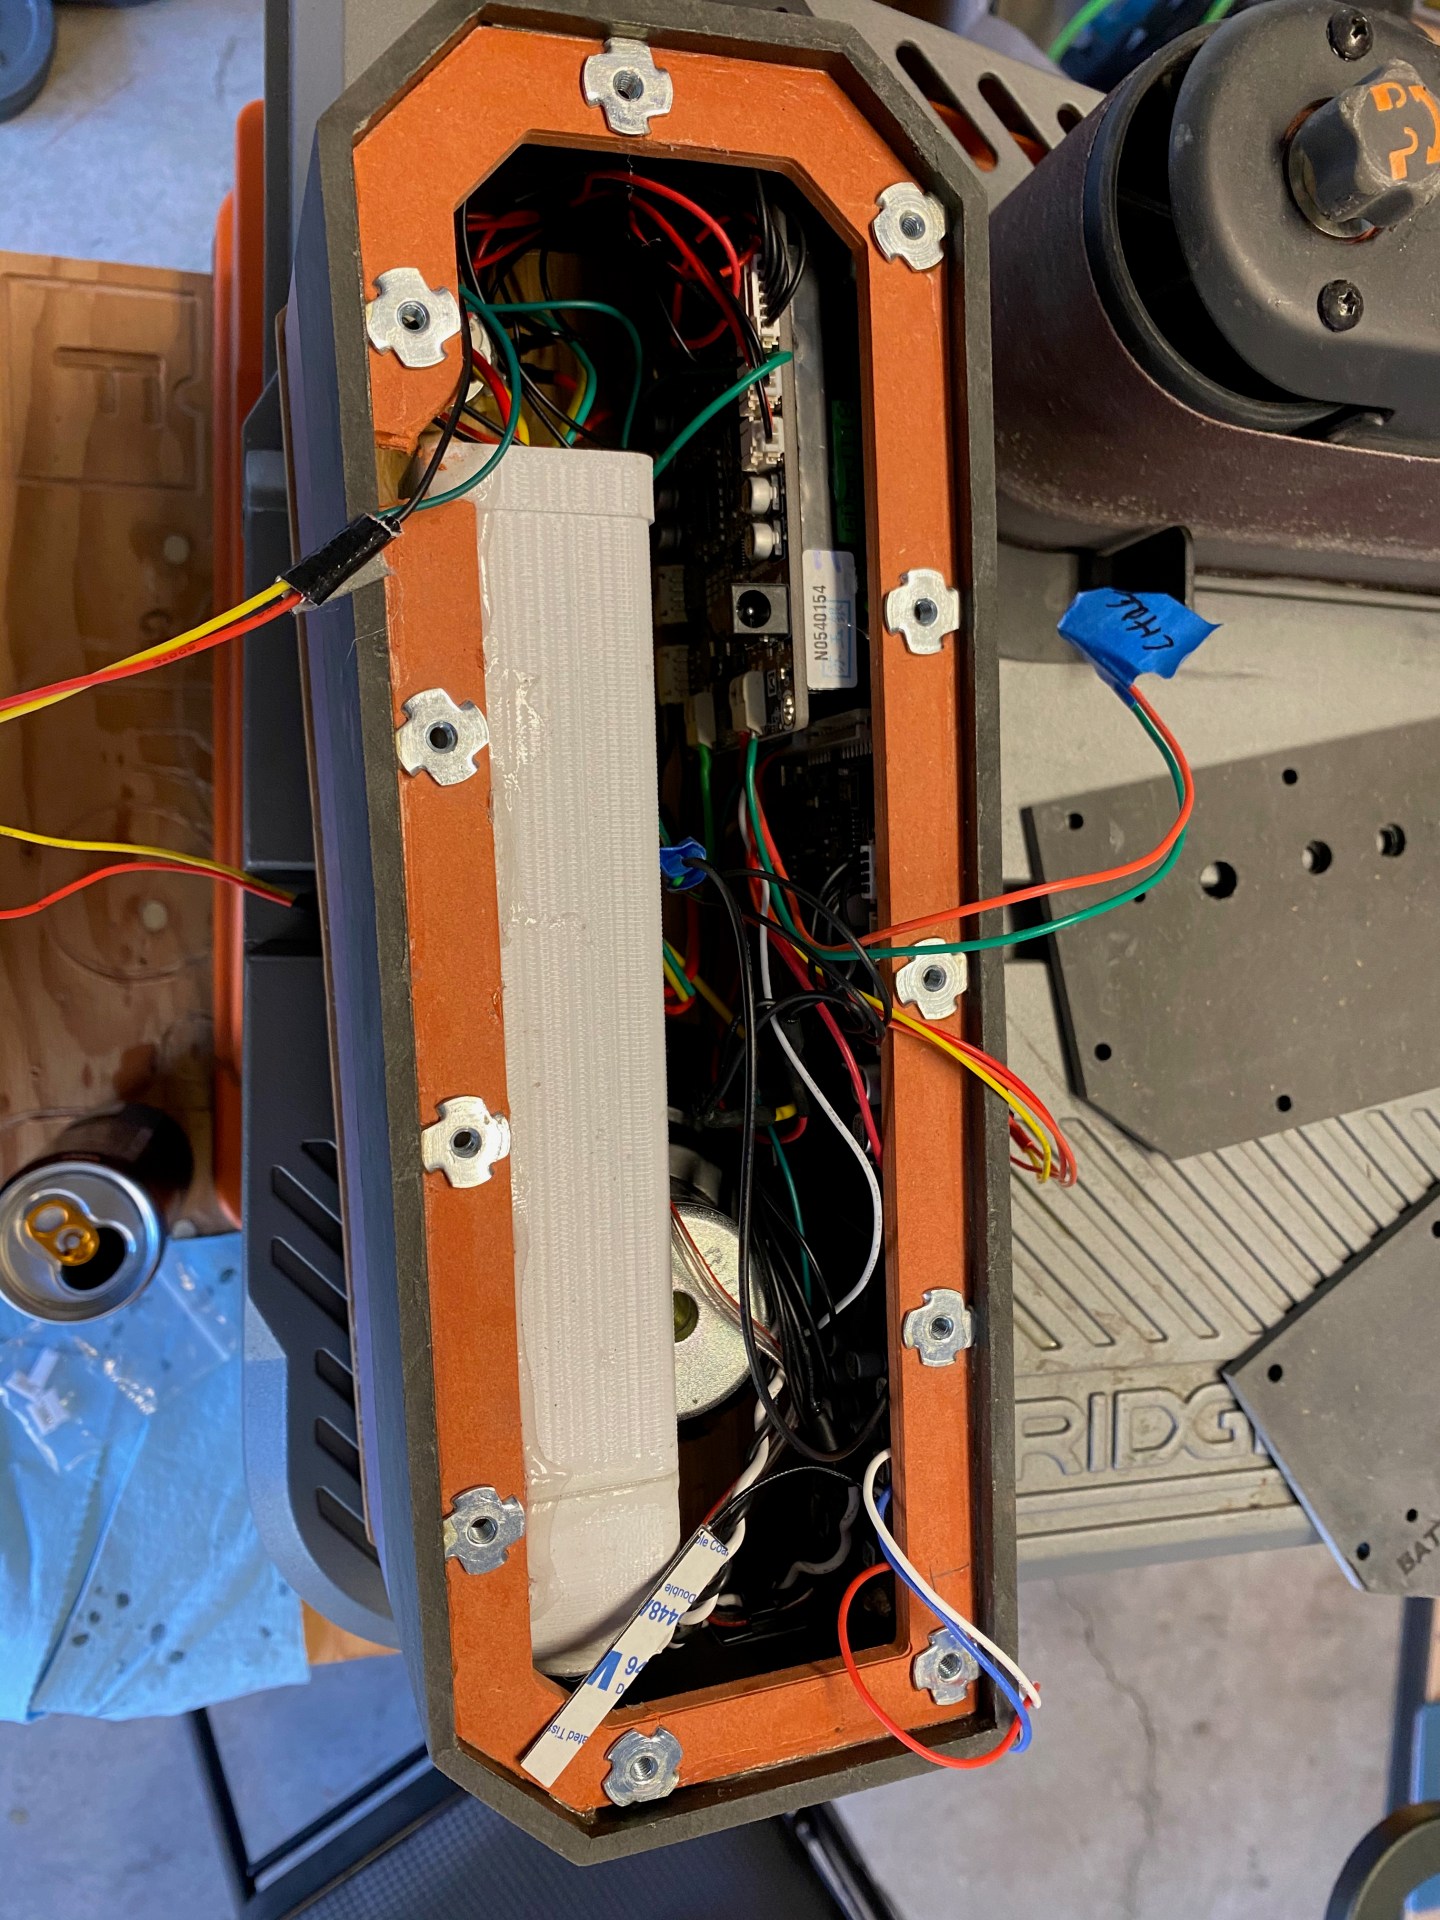
That’s when I realized neither the BMS nor the Amp was using a boosted rail which was causing very noticeable voltage clipping, so I had to rip everything open and shove not only a DC-DC buck converter but a giant LC ripple filter (1.3mH L and 100µF C) onto the voltage rail. The only DC-DC buck converters I had in house were straight outta Hua Qiang Bei which means the were both cheap and poorly designed. Buck converters are in general awesome, and about as efficient as one could hope (for 12 to 24V boost, I saw ~85% efficiency depending on load), but the switching causes a lot of load-dependent ripple, which adds both noise and intermodulation into the signal chain. But with that bullet bitten, and with 1 day until ship, it was time to tune. And boy does this design sound good. Sparing the details of the tuning, here’s the final frequency response with a -3dBFS sine sweep @ half input “volume.”

The 2nd harmonic distortion looks pretty high @ 50Hz but this is mostly due to the aggressive non-linear processing I added in for extra kick; a more reasonable measure of THD in this scenario are the 3rd order harmonics, which I kept below 8%. The dips in the mid band (400Hz, 800Hz) are regrettable from a data standpoint (probably due to product baffle dimensions) but overall, these speakers deliver supple bass, smooth vocals, crisp treble, and excellent definition from 50Hz all the way to 20kHz. I added a little bit of level-dependent EQ, so at maximum volume these speakers are loud enough to kick off a backyard party, and at reasonable volumes they deliver a little extra extension for a very full, deep, frequency response. In my book, a thermos-sized speaker that can fill a room down to 50Hz ticks the “bigger than it looks” box; even from another room I found my self saying “damn, these sound good.”

 Much like worried parents will fuss over a child before sending them off into the world, I fidgeted over the details of this lil guy, attempting to delay the inevitable departure, filled with pride and worry at the rigors he’ll face out in the real world. Unlike most worried parents, I eventually said “fuck it,” and dropped this fucker off at the local Fedex, to be shipped cross country in a large cardboard box.